Archive

Archives pour la catégorie ‘Système’

nohup: How to launch standalone and independant job

08/06/2024 Comments off

Source: Wikipedia

nohup is a POSIX command to ignore the HUP (hangup) signal. The HUP signal is, by convention, the way a terminal warns dependent processes of logout.

Output that would normally go to the terminal goes to a file called nohup.out if it has not already been redirected.

Use

The first of the commands below starts the program abcd in the background in such a way that the subsequent logout does not stop it.

$ nohup abcd &
$ exit

Note that these methods prevent the process from being sent a ‘stop’ signal on logout, but if input/output is being received for these standard I/O files (stdin, stdout, or stderr), they will still hang the terminal.[1] See Overcoming hanging, below.

nohup is often used in combination with the nice command to run processes on a lower priority.

$ nohup nice abcd &

Existing jobs, processes

Some shells (e.g. bash) provide a shell builtin that may be used to prevent SIGHUP being sent or propagated to existing jobs, even if they were not started with nohup. In bash, this can be obtained by using disown -h job; using the same builtin without arguments removes the job from the job table, which also implies that the job will not receive the signal. Before using disown on an active job, it should be stopped by Ctrl-Z, and continued in the background by the bg command.[2] Another relevant bash option is shopt huponexit, which automatically sends the HUP signal to jobs when the shell is exiting normally.[3]

The AIX and Solaris versions of nohup have a -p option that modifies a running process to ignore future SIGHUP signals. Unlike the above-described disown builtin of bash, nohup -p accepts process IDs.[4]

Overcoming hanging

Note that nohupping backgrounded jobs is typically used to avoid terminating them when logging off from a remote SSH session. A different issue that often arises in this situation is that ssh is refusing to log off (« hangs »), since it refuses to lose any data from/to the background job(s).[5][6] This problem can also be overcome by redirecting all three I/O streams:

$ nohup ./myprogram > foo.out 2> foo.err < /dev/null &

Also note that a closing SSH session does not always send a HUP signal to depending processes. Among others, this depends on whether a pseudo-terminal was allocated or not.[7]

Alternatives

  • The screen or tmux command can also detach a process from the current shell. It allows one to reattach to the process later on.
e.g. the following call will run somescript.sh detached from SIGHUP and in the background:
 $ screen -A -m -d -S somename ./somescript.sh &
  • The disown command is used to remove jobs from the job table, or to mark jobs so that a SIGHUP signal is not sent.

References

« Bug 396 – sshd orphans processes when no pty allocated ». Bugzilla.mindrot.org. Retrieved 2009-06-10.
 

Categories: Système Tags:

How to Run Cron Every 5 Minutes, Seconds, Hours, Days, Months

07/06/2024 Comments off

Source: thegeekstuff.com

Question: How do I execute certain shell script at a specific intervals in Linux using cron job? Provide examples using different time periods.

Answer: Crontab can be used to schedule a job that runs on certain internal. The example here show how to execute a backup.sh shell script using different intervals.

Also, don’t forget to read our previous crontab article that contains 15 practical examples, and also explains about @monthly, @daily, .. tags that you can use in your crontab.

1. Execute a cron job every 5 Minutes

The first field is for Minutes. If you specify * in this field, it runs every minutes. If you specify */5 in the 1st field, it runs every 5 minutes as shown below.

*/5 * * * * /home/ramesh/backup.sh

Note: In the same way, use */10 for every 10 minutes, */15 for every 15 minutes, */30 for every 30 minutes, etc.

2. Execute a cron job every 5 Hours

The second field is for hours. If you specify * in this field, it runs every hour. If you specify */5 in the 2nd field, it runs every 5 hours as shown below.

0 */5 * * * /home/ramesh/backup.sh

Note: In the same way, use */2 for every 2 hours, */3 for every 3 hours, */4 for every 4 hours, etc.

3. Execute a job every 5 Seconds

Cron job cannot be used to schedule a job in seconds interval. i.e You cannot schedule a cron job to run every 5 seconds. The alternative is to write a shell script that uses ‘sleep 5′ command in it.

Lire la suite…

Categories: Système Tags: , , ,

Simple Tor Setup on Mac OS X

07/06/2024 Comments off

Source: kremalicious.com – 

There’re many reasons you might want to browse anonymously which can be accomplished by using Tor. The setup instructions on Tor’s website are quite scattered and outdated so here’re some steps to setup Tor on OS X with a simple automated script at the end.

I’m using OS X Yosemite (10.10) for the following instructions but it should work on almost any OS X version.

Tor Browser

The most simple way to surf anonymously with Tor is to just grab the Tor Browser bundle.

But it’s based on a super old version of Firefox. And there might be more you want to do anonymously on your machine than just browsing the web, like accessing resources via the Terminal or any other app. Or just use the browser you’re used to.

For this you need to have Tor installed on your system and additionally set specific Proxy values in your network preferences after you’ve started Tor.

Install Tor

Contrary to the weirdly outdated install instructions on Tor’s website (hey, remember Macports?), installing Tor on Mac OS X is super simple with Homebrew.

In your Terminal execute:

brew install tor

Then you can start it up by running:

tor

Congratulations, you now have Tor running on your system. But none of your network traffic is routed through it yet.

In order for all your system traffic being routed through Tor you need to adjust your system’s network proxy settings whih you can either do visually in the System Preferences or programmatically via OS X’s builtin networksetup.

Set network proxy settings via System Preferences

You can do this under System Preferences > Network and creating a specific Tor network location for it:

  1. From Location dropdown at the top, select Edit Locations…
  2. Create a new location by hitting the plus button and name it Tor. Hitting Done will select the new location which is now ready to be configured
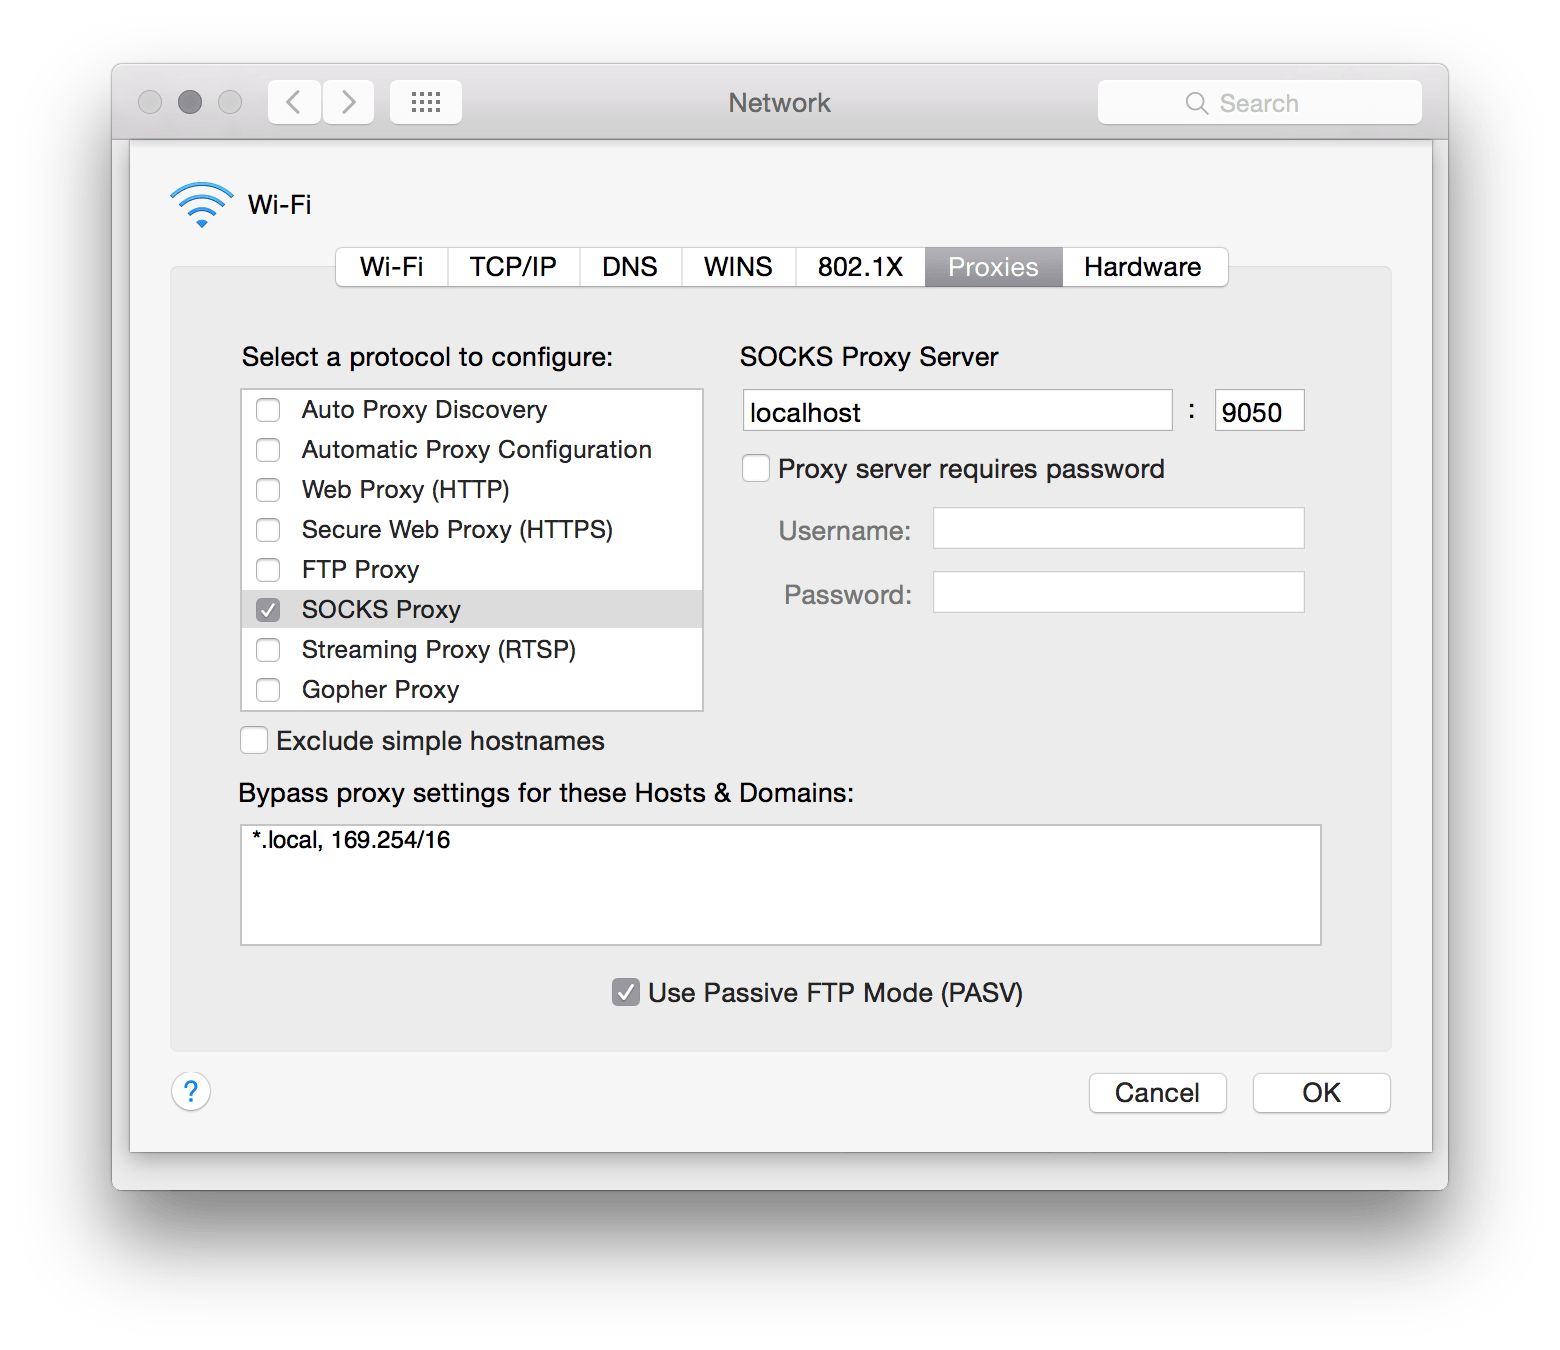
  3. Go to Advanced > Proxies and activate SOCKS Proxy and add those values:
  • SOCKS proxy server: localhost
  • Port: 9050

tor-osx-proxy

After hitting OK & Apply at the initial network screen, you can easily switch to this newly created location from your menu bar under  > Location whenever you start up Tor.

Switching to the Tor location routes all network traffic on your system through Tor. Note that you have to repeat those steps for every other network interface if you use, say, Wi-Fi and Ethernet interchangeably.

Lire la suite…

Categories: Réseau, Système Tags: , , ,

HowTo: Make Ubuntu a Perfect Mac File Server and Time Machine Volume

06/06/2024 Comments off

ubuntu time machineFor quite some time I use my Ubuntu machine as a file and backup server for all Macs in my network which is perfectly accessible from the Finder in Mac OS X. There are some instructions available in the web for this task but all failed in my case so I wrote my own tutorial with all the steps needed for it to work properly.

So here’s my little Tutorial for connecting Mac OS X Leopard with Ubuntu and using your Ubuntu machine as a backup volume for Time Machine but all steps can be reproduced on every Linux box and they work with Mac OS X 10.4 Tiger too. At the end of this tutorial you will have a server which shows up in the Finder sidebar and behaves just like a Mac server when accessing it from your Macs. To be perfectly integrated with Mac OS X we’re going to use Apple’s Filing Protocol (AFP) for network and file sharing.

Although this Tutorial involves using the Terminal in Ubuntu and looks a bit geeky it’s very easy even for beginners. I have tried to explain all steps and Terminal commands so you may learn a bit about the Terminal too. At the end of the article you can download my Server Displays icon pack quickly made by me with custom icons for a Mac, Ubuntu and Windows server.

Personally I use a fresh installation of Ubuntu 8.04 Hardy Heron Desktop version (32bit on one machine, 64bit on the other) and Mac OS X Leopard (10.5.3 and later) to connect to them. On my Ubuntu boxes there’s no other file sharing protocol like samba (Windows sharing) or NFS activated.

Rumors are Apple will add some undocumented AFP commands with the Mac OS X 10.5.6 update which therefor won’t be supported by the current Netatalk package (and maybe never will). So be sure to check the latest comments on this article when the 10.5.6 update is out to see if this rumor is true and if there are problems caused by that.

Here are the steps involved in setting up your Ubuntu box as a Mac file server:

  1. Modify and install Netatalk (Open Source AFP implementation)
  2. Configure Netatalk
  3. Configure shared volumes (and Time Machine volume)
  4. Install Avahi (Open Source Bonjour implementation)
  5. Configure Avahi and advertise services
  6. Configure TimeMachine
  7. Conclusion, Problems and more informations
  8. Downloading and using the Server Display Icons
  9. Translations Of This Article

Lire la suite…

Categories: Système Tags: , , ,

Benchmark Your Webpage with Siege

06/06/2024 Comments off

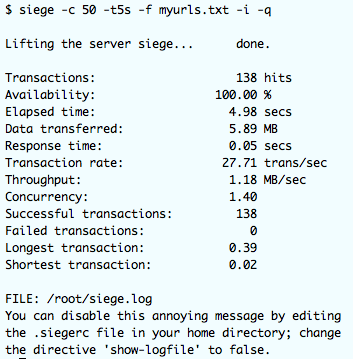
Siege_Benchmark_WebpageA few articles ago, I wrote about using the “apachebench” or “ab” utility to benchmark your website (see: apachebench). Ab is a great tool, but since then, I have found and fallen in love with a new tool for benchmarking your website. This new tool is named “siege”.

Install Siege on CentOS 6

CentOS 6 has added the siege package to the CentOS EPEL (Extra Packages for Enterprise Linux) repository which makes installation easy using yum if you have the EPEL repository installed. If you need to install it still, you can do it using these quick steps:

# wget http://dl.fedoraproject.org/pub/epel/6/x86_64/epel-release-6-8.noarch.rpm
# rpm -Uvh ./epel-release-6-8.noarch.rpm
Preparing...                ########################################### [100%]
package epel-release-6-8.noarch is already installed

Once the EPEL repository is installed, you can go ahead and install the siege package:

# yum install siege

Using Siege to Benchmark Your Website

We can get really detailed usage information on the siege utility in the man pages. We can get a list of the switches that siege can use by using the –help option:

# siege --help
SIEGE 3.0.0
Usage: siege [options]
       siege [options] URL
       siege -g URL
Options:
  -V, --version             VERSION, prints the version number.
  -h, --help                HELP, prints this section.
  -C, --config              CONFIGURATION, show the current config.
  -v, --verbose             VERBOSE, prints notification to screen.
  -q, --quiet               QUIET turns verbose off and suppresses output.
  -g, --get                 GET, pull down HTTP headers and display the
                            transaction. Great for application debugging.
  -c, --concurrent=NUM      CONCURRENT users, default is 10
  -i, --internet            INTERNET user simulation, hits URLs randomly.
  -b, --benchmark           BENCHMARK: no delays between requests.
  -t, --time=NUMm           TIMED testing where "m" is modifier S, M, or H
                            ex: --time=1H, one hour test.
  -r, --reps=NUM            REPS, number of times to run the test.
  -f, --file=FILE           FILE, select a specific URLS FILE.
  -R, --rc=FILE             RC, specify an siegerc file
  -l, --log[=FILE]          LOG to FILE. If FILE is not specified, the
                            default is used: PREFIX/var/siege.log
  -m, --mark="text"         MARK, mark the log file with a string.
  -d, --delay=NUM           Time DELAY, random delay before each requst
                            between 1 and NUM. (NOT COUNTED IN STATS)
  -H, --header="text"       Add a header to request (can be many)
  -A, --user-agent="text"   Sets User-Agent in request
  -T, --content-type="text" Sets Content-Type in request

Copyright (C) 2013 by Jeffrey Fulmer, et al.
This is free software; see the source for copying conditions.
There is NO warranty; not even for MERCHANTABILITY or FITNESS
FOR A PARTICULAR PURPOSE.

so, with these options in mind, allow me to demonstrate a few of the coolest siege options that I like best:

Lire la suite…

Categories: Système Tags: , ,