L’organisation de votre répertoire personnel ou même de votre système peut être particulièrement difficile si vous avez l’habitude de télécharger toutes sortes de choses sur Internet.
Souvent, vous constaterez que vous avez téléchargé le même mp3, pdf, epub (et toutes sortes d’autres extensions de fichiers) et que vous l’avez copié dans différents répertoires. Cela peut encombrer vos répertoires de toutes sortes de choses dupliquées inutiles.
Dans ce didacticiel, vous allez apprendre à rechercher et à supprimer des fichiers en double sous Linux à l’aide des outils de ligne de commande rdfind et fdupes, ainsi qu’à l’aide d’outils d’interface graphique appelés DupeGuru et FSlint.
Une note de prudence – faites toujours attention à ce que vous supprimez sur votre système car cela peut entraîner une perte de données indésirable. Si vous utilisez un nouvel outil, essayez-le d’abord dans un répertoire de test où la suppression de fichiers ne posera pas de problème.
Rdfind – Trouve les fichiers en double sous Linux
Rdfind provient de la recherche de données redondantes. C’est un outil gratuit utilisé pour trouver des fichiers en double dans ou dans plusieurs répertoires. Il utilise la somme de contrôle et trouve les doublons basés sur le fichier contient non seulement des noms. Lire la suite…
Want to share your terminal over the web for demo, learning or collaboration purpose? Try these two applications to share your terminal as a web application.
Please note that accepting input from remote clients is dangerous for most commands. When you need interaction with the TTY for some reasons, consider starting following tools with tmux or GNU Screen and run your command on it. Use following tools with trusted parties or inside VM. Let us see how to install and use gotty and ttyd on a Unix-like system.
1. gotty
GoTTY is a simple command line tool that turns your CLI tools into web applications. It is written in go programming language.
Installation
You can install gotty on macOS using the brew command: $ brew install yudai/gotty/gotty
Sample outputs:
Updating Homebrew...
==> Tapping yudai/gotty Cloning into '/usr/local/Homebrew/Library/Taps/yudai/homebrew-gotty'...
remote: Counting objects: 5, done.
remote: Compressing objects: 100% (5/5), done.
remote: Total 5 (delta 1), reused 2 (delta 0), pack-reused 0
Unpacking objects: 100% (5/5), done.
Tapped 1 formula (30 files, 22.7KB)
==> Installing gotty from yudai/gotty
==> Downloading https://github.com/yudai/gotty/releases/download/v1.0.1/gotty_darwin_amd64.tar.gz
==> Downloading from https://github-production-release-asset-2e65be.s3.amazonaws.com/40808571/c401bd34-7bd9-11e7-8
######################################################################## 100.0%
==> Caveats GoTTY! ==> Summary
? /usr/local/Cellar/gotty/v1.0.1: 3 files, 8.2MB, built in 1 minute
Another option for Linux or Unix like system is to type the following command if you have a go language dev setup installed:
Fire a browser and type the url: http://127.0.0.1:8080/ OR from another computer in your LAN/VLAN: http://192.168.225.106:8080/
Sample outputs:
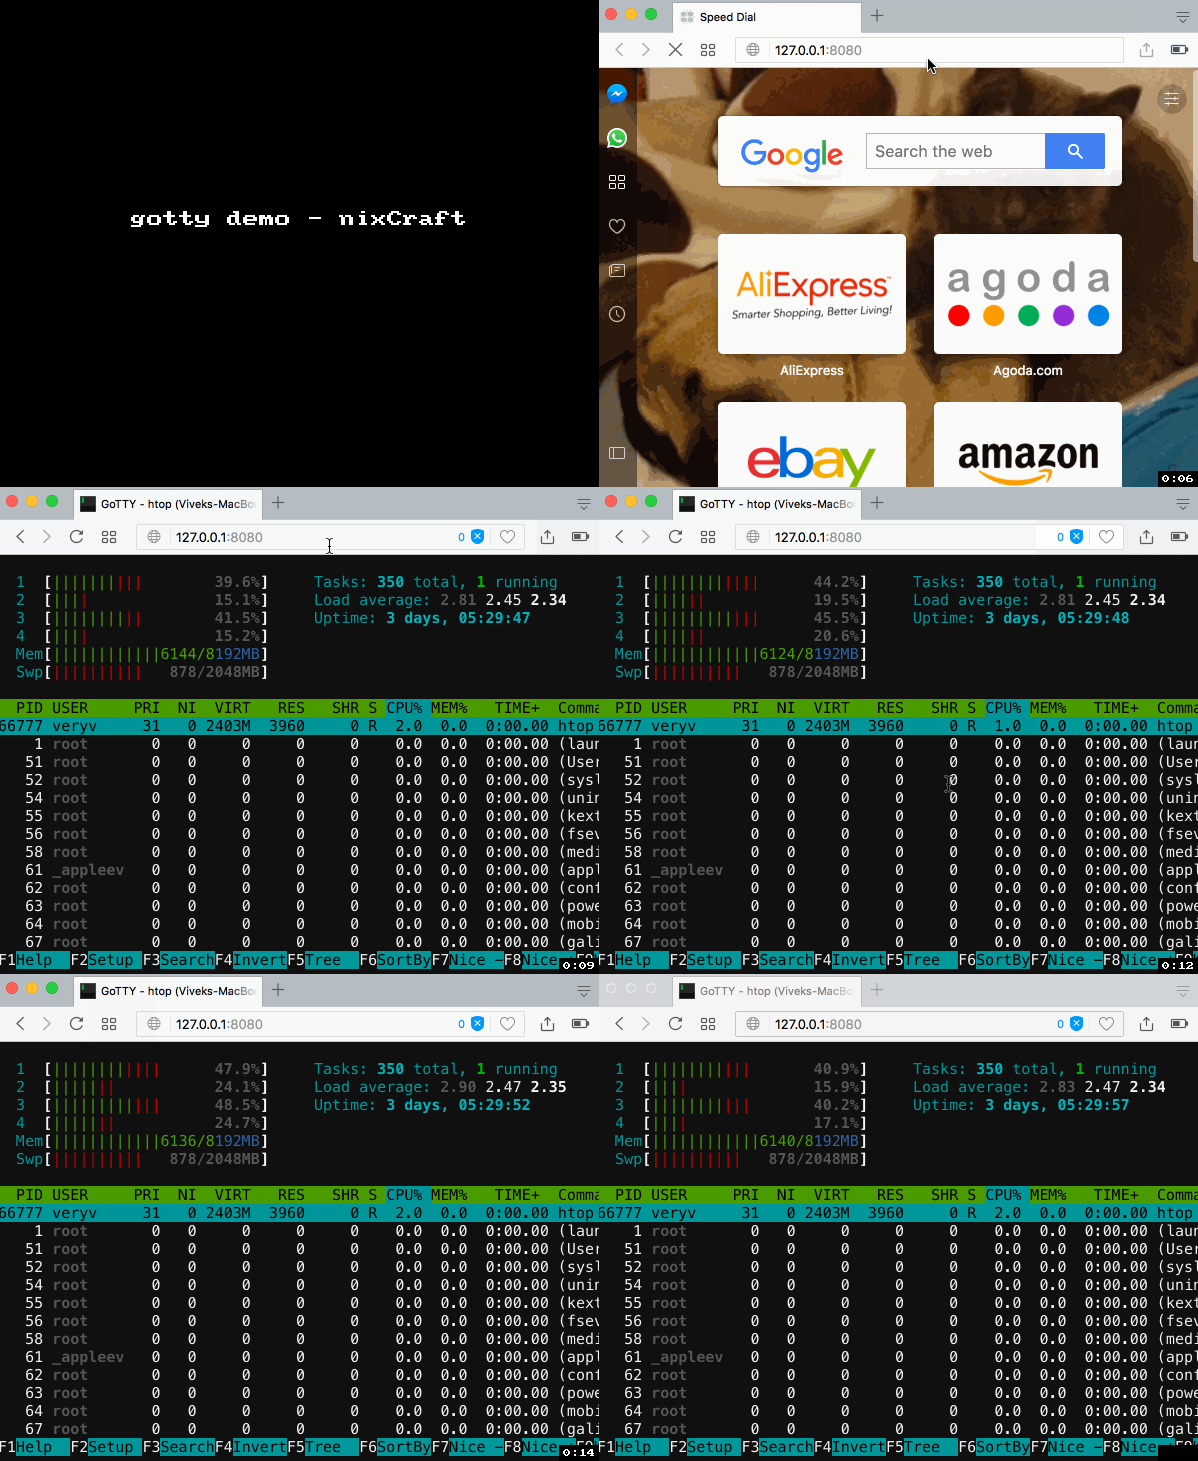
Gif 01: gotty in action
For more info and documentation see gotty home page.
2. ttyd
ttyd is a simple command-line tool for sharing terminal over the web, inspired by GoTTY. It is built on top of Libwebsockets with C for speed. Works with macOS, Linux, FreeBSD, OpenWrt/LEDE, and MS-Windows oses.
Installation
If you are using macOS, run the following brew command: $ brew install ttyd Sample outputs:
netfilter is a set of hooks inside the Linux kernel that allows kernel modules to register callback functions with the network stack. A registered callback function is then called back for every packet that traverses the respective hook within the network stack.
This Linux based firewall is controlled by the program called iptables to handles filtering for IPv4, and ip6tables handles filtering for IPv6. I strongly recommend that you first read our quick tutorial that explains how to configure a host-based firewall called Netfilter (iptables) under CentOS / RHEL / Fedora / Redhat Enterprise Linux. This post lists most simple iptables solutions required by a new Linux user to secure his or her Linux operating system from intruders. Lire la suite…
An alias is nothing but the shortcut to commands. The alias command allows the user to launch any command or group of commands (including options and filenames) by entering a single word. Use alias command to display a list of all defined aliases. You can add user-defined aliases to ~/.bashrcfile. You can cut down typing time with these aliases, work smartly, and increase productivity at the command prompt.
More about aliases
The general syntax for the alias command for the bash shell is as follows:
Task: List aliases
Type the following command:
alias
Sample outputs:
alias ..='cd ..'
alias amazonbackup='s3backup'
alias apt-get='sudo apt-get'
...
By default alias command shows a list of aliases that are defined for the current user.
The wc command shows the number of lines, words, and bytes contained in file. The syntax is as follows to get the file size: wc -c /path/to/file wc -c /etc/passwd Sample outputs:
5253 /etc/passwd
You can easily extract the first field either using the cut or awk command: wc -c /etc/passwd | awk '{print $1}' Sample outputs:
How to get the size of a file in a bash script using stat command
The stat command shows information about the file. The syntax is as follows to get the file size on GNU/Linux stat: stat -c %s "/etc/passwd" OR stat --format=%s "/etc/passwd" To assign this size to a bash variable:
myfilesize=$(stat--format=%s "/etc/passwd")echo"$myfilesize"## or ##myFileSizeCheck=$(stat-c%s "/etc/resolv.conf")printf"My file size = %d\n"$myFileSizeCheck
The syntax is as follows to get the file size on BSD/MacOS stat: stat -f %z "/etc/passwd" Please note that if the file is symlink you will get size of that link only with the stat command.