Pour configurer IPTables sur un serveur Linux, définissez des politiques par défaut, autorisez le trafic essentiel (SSHAutorisez les connexions HTTP/HTTPS, puis bloquez toutes les autres. Enregistrez et conservez ces règles avec iptables-save ou iptables-persistent (Debian/Ubuntu) ou iptables-services (RHEL/Alma/Rocky). Testez depuis une seconde session pour éviter les blocages et consultez les journaux d’erreurs pour faciliter le dépannage.
Configurer IPTables sur un serveur Linux est une compétence essentielle pour un hébergement sécurisé en 2026. Ce guide vous accompagne pas à pas : fonctionnement d’IPTables, configuration sécurisée, règles courantes, NAT/redirection de ports, persistance des paramètres après redémarrage et dépannage. Que vous utilisiez un VPS, un serveur dédié ou une instance cloud, vous découvrirez une méthode de configuration de pare-feu adaptée à la production.
Qu’est-ce qu’IPTables et comment ça fonctionne ?
IPTables est le pare-feu espace utilisateur Linux qui interagit avec Netfilter au niveau du noyau. Il analyse les paquets à l’aide de tables (filtrage, NAT, masquage) et de chaînes (entrée, sortie, transfert, préroutage, postroutage) en appliquant des règles qui correspondent à des critères et déterminent les actions à entreprendre (accepter, bloquer, rejeter). En 2026, de nombreuses distributions Linux utilisaient nftables en interne, mais la compatibilité avec iptables-nft restait largement disponible.
Aperçu rapide : Flux de règles de bonnes pratiques
Définir les politiques par défaut sur DROP.
Autoriser le trafic de bouclage et le trafic établi/connexe.
Autoriser SSH (avec des limites de débit) et les ports de service requis (par exemple, 80/443).
Autoriser éventuellement le protocole ICMP (ping) avec des limites.
Augmentez la fréquence des chutes de journalisation à un rythme raisonnable pour une meilleure visibilité.
Respectez les règles et testez-les minutieusement.
Prérequis et liste de vérification de sécurité
Accès root ou sudo sur votre serveur Linux.
Deux sessions sont ouvertes (par exemple, SSH + console) pour éviter le verrouillage.
IP de votre managemachine à ment (à mettre sur liste blanche si nécessaire).
Disponibilité des forfaits :
Debian/Ubuntu : iptables, iptables-persistent ou netfilter-persistent
RHEL/Alma/Rocky : iptables, iptables-services (optionnel), firewalld (si vous préférez un outil de plus haut niveau)
Sachez si vous utilisez iptables-legacy ou iptables-nft :
All modern operating systems include a firewall, an application that regulates network traffic to and from a computer. Firewalls use rules to control incoming and outgoing traffic, creating a network security layer.
iptables is the primary firewall utility program developed for Linux systems. The program enables system administrators to define rules and policies for filtering network traffic.
In this tutorial, learn how to install, configure, and use iptables in Linux.
Prerequisites
A Linux system.
A user account with sudo privileges.
Access to a terminal window/command line.
What Is iptables?
iptables is a command-line utility for configuring the built-in Linux kernel firewall. It enables administrators to define chained rules that control incoming and outgoing network traffic.
The rules provide a robust security mechanism that defines which network packets can pass through and which should be blocked. iptables protects Linux systems from data breaches, unauthorized access, and other network security threats.
iptables is a Linux command-line firewall tool used to control and secure network traffic by defining packet-filtering rules. It works with the Netfilter framework in the Linux kernel to decide whether packets are accepted, dropped, or forwarded.
Controls incoming, outgoing, and forwarded traffic based on IP addresses, ports, and protocols.
Uses tables, chains, and rules to define how network packets should be handled.
Performs actions such as ACCEPT, DROP, REJECT, or FORWARD when packets match rules.
Helps protect servers and networks by allowing trusted traffic and blocking unauthorized access.
Core Components of iptables
iptables works using a structured model consisting of tables, chains, rules, and targets.
Tables in Iptables
Tables are collections of chains that define how packets should be processed for specific purposes, iptables uses different tables for handling various types of packet processing.
filter: Default used table for packet filtering. It includes chains like INPUT, OUTPUT and FORWARD.
nat: Related to Network Address Translation. It includes PREROUTING and POSTROUTING chains.
mangle: For specialised packet alteration. Inbuilt chains include PREROUTING and OUTPUT.
raw: Configures exemptions from connection tracking. Built-in chains are PREROUTING and OUTPUT.
security: Used for Mandatory Access Control
Built-in Chains of Tables in Iptables
Chains are ordered lists of rules that determine what action should be taken when a packet matches certain conditions. Each table contains predefined chains
INPUT: A set of rules for packets destined to localhost sockets.
FORWARD: For packets routed through the device.
OUTPUT: It is locally generated packets, meant to be transmitted outside.
PREROUTING: It is used for modifying packets as they arrive.
POSTROUTING: IIt helps in modifying packets as they are leaving.
Rules
Rules are the conditions applied to packets within chains. A rule matches a packet if it meets certain criteria. Common criteria include:
Source IP address: Blocks or allows traffic coming from a specific computer or device. Example: Stop all traffic from 192.168.1.100.
Destination IP address: Blocks or allows traffic going to a specific computer or device. Example: Allow traffic only to 10.0.0.5.
Protocol type: Filters traffic based on the type of communication, like TCP (web), UDP, or ICMP (ping).
Port number: Controls access to certain services or programs on a computer. Example: Allow web traffic on port 80 but block SSH on port 22.
Targets (Actions)
Targets specify what happens when a packet matches a rule:
ACCEPT: Allow the packet to continue its path.
DROP: Silently discard the packet with no response.
REJECT: Discard the packet but send an error response to the sender.
QUEUE: Send the packet to userspace for custom processing.
RETURN: Stop processing the current chain and resume at the previous chain.
Example:
Imagine you want to block SSH from a specific IP but allow all other traffic:
iptables -A INPUT -p tcp --dport 22 -s 192.168.1.100 -j DROP
Chain: INPUT
Protocol: TCP
Destination Port: 22 (SSH)
Source IP: 192.168.1.100
Target: DROP
Output:
This rule drops incoming SSH connections from 192.168.1.100 while letting other traffic pass normally.
L’organisation de votre répertoire personnel ou même de votre système peut être particulièrement difficile si vous avez l’habitude de télécharger toutes sortes de choses sur Internet.
Souvent, vous constaterez que vous avez téléchargé le même mp3, pdf, epub (et toutes sortes d’autres extensions de fichiers) et que vous l’avez copié dans différents répertoires. Cela peut encombrer vos répertoires de toutes sortes de choses dupliquées inutiles.
Dans ce didacticiel, vous allez apprendre à rechercher et à supprimer des fichiers en double sous Linux à l’aide des outils de ligne de commande rdfind et fdupes, ainsi qu’à l’aide d’outils d’interface graphique appelés DupeGuru et FSlint.
Une note de prudence – faites toujours attention à ce que vous supprimez sur votre système car cela peut entraîner une perte de données indésirable. Si vous utilisez un nouvel outil, essayez-le d’abord dans un répertoire de test où la suppression de fichiers ne posera pas de problème.
Rdfind – Trouve les fichiers en double sous Linux
Rdfind provient de la recherche de données redondantes. C’est un outil gratuit utilisé pour trouver des fichiers en double dans ou dans plusieurs répertoires. Il utilise la somme de contrôle et trouve les doublons basés sur le fichier contient non seulement des noms. Lire la suite…
Want to share your terminal over the web for demo, learning or collaboration purpose? Try these two applications to share your terminal as a web application.
Please note that accepting input from remote clients is dangerous for most commands. When you need interaction with the TTY for some reasons, consider starting following tools with tmux or GNU Screen and run your command on it. Use following tools with trusted parties or inside VM. Let us see how to install and use gotty and ttyd on a Unix-like system.
1. gotty
GoTTY is a simple command line tool that turns your CLI tools into web applications. It is written in go programming language.
Installation
You can install gotty on macOS using the brew command: $ brew install yudai/gotty/gotty
Sample outputs:
Updating Homebrew...
==> Tapping yudai/gotty Cloning into '/usr/local/Homebrew/Library/Taps/yudai/homebrew-gotty'...
remote: Counting objects: 5, done.
remote: Compressing objects: 100% (5/5), done.
remote: Total 5 (delta 1), reused 2 (delta 0), pack-reused 0
Unpacking objects: 100% (5/5), done.
Tapped 1 formula (30 files, 22.7KB)
==> Installing gotty from yudai/gotty
==> Downloading https://github.com/yudai/gotty/releases/download/v1.0.1/gotty_darwin_amd64.tar.gz
==> Downloading from https://github-production-release-asset-2e65be.s3.amazonaws.com/40808571/c401bd34-7bd9-11e7-8
######################################################################## 100.0%
==> Caveats GoTTY! ==> Summary
? /usr/local/Cellar/gotty/v1.0.1: 3 files, 8.2MB, built in 1 minute
Another option for Linux or Unix like system is to type the following command if you have a go language dev setup installed:
Fire a browser and type the url: http://127.0.0.1:8080/
OR from another computer in your LAN/VLAN: http://192.168.225.106:8080/
Sample outputs:
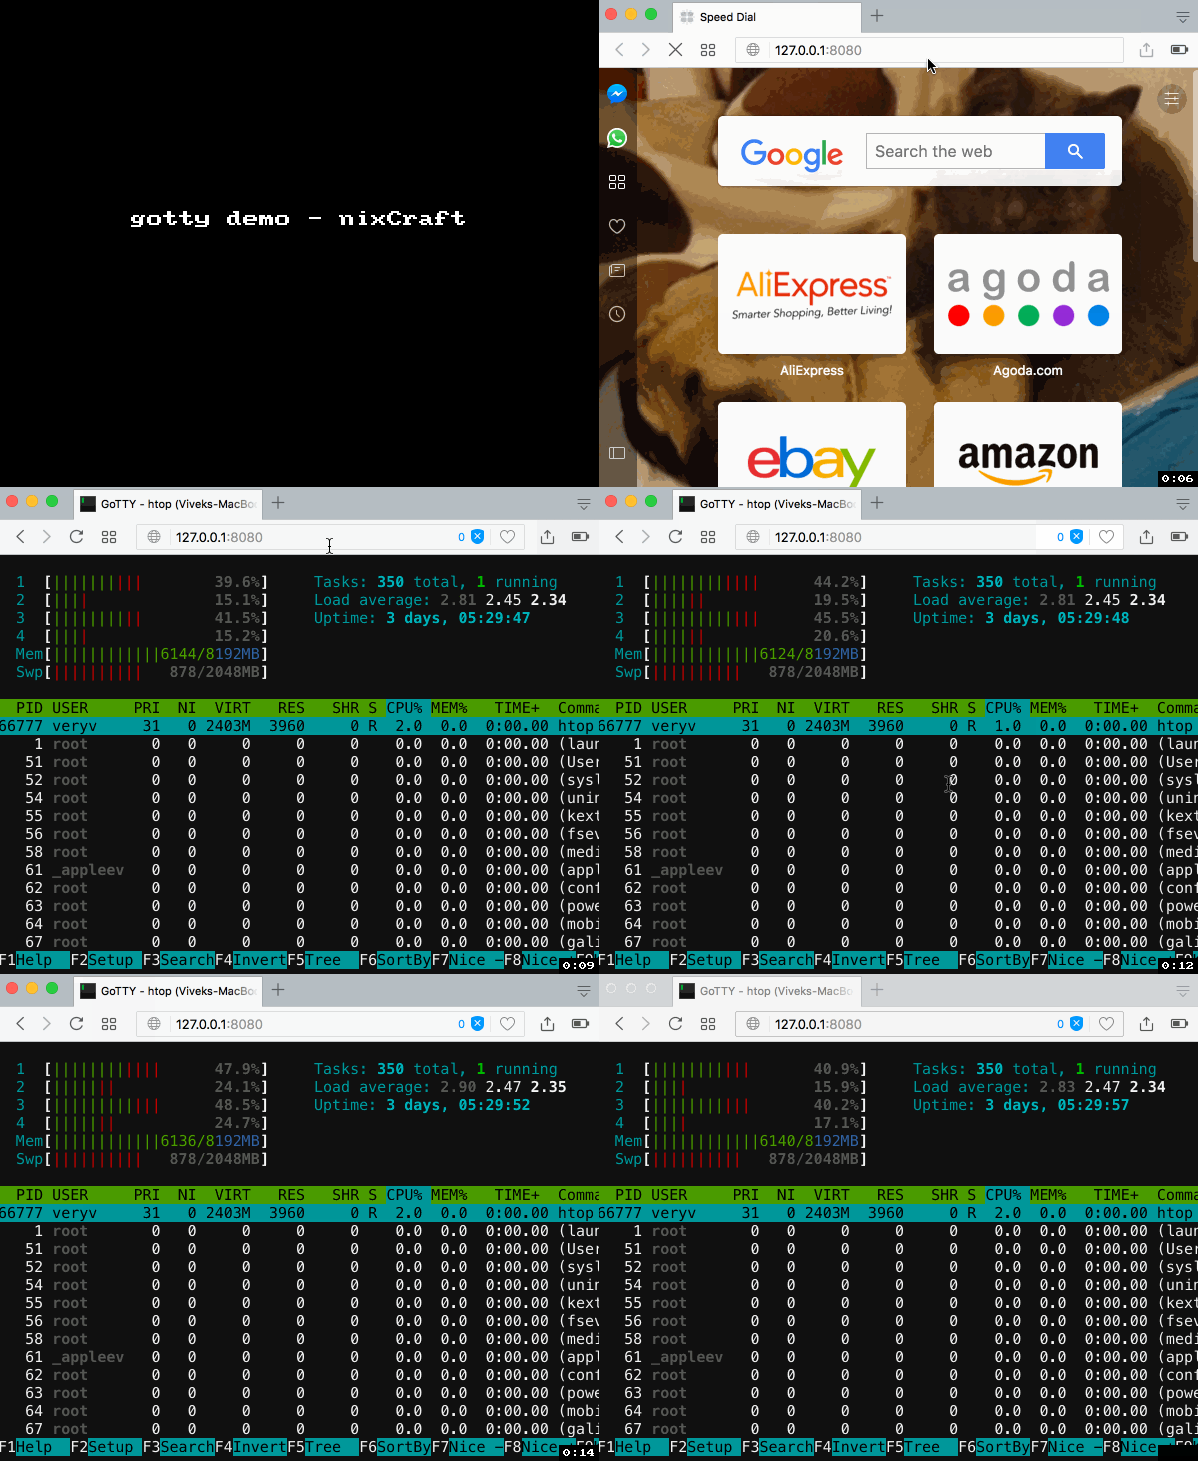
Gif 01: gotty in action
For more info and documentation see gotty home page.
2. ttyd
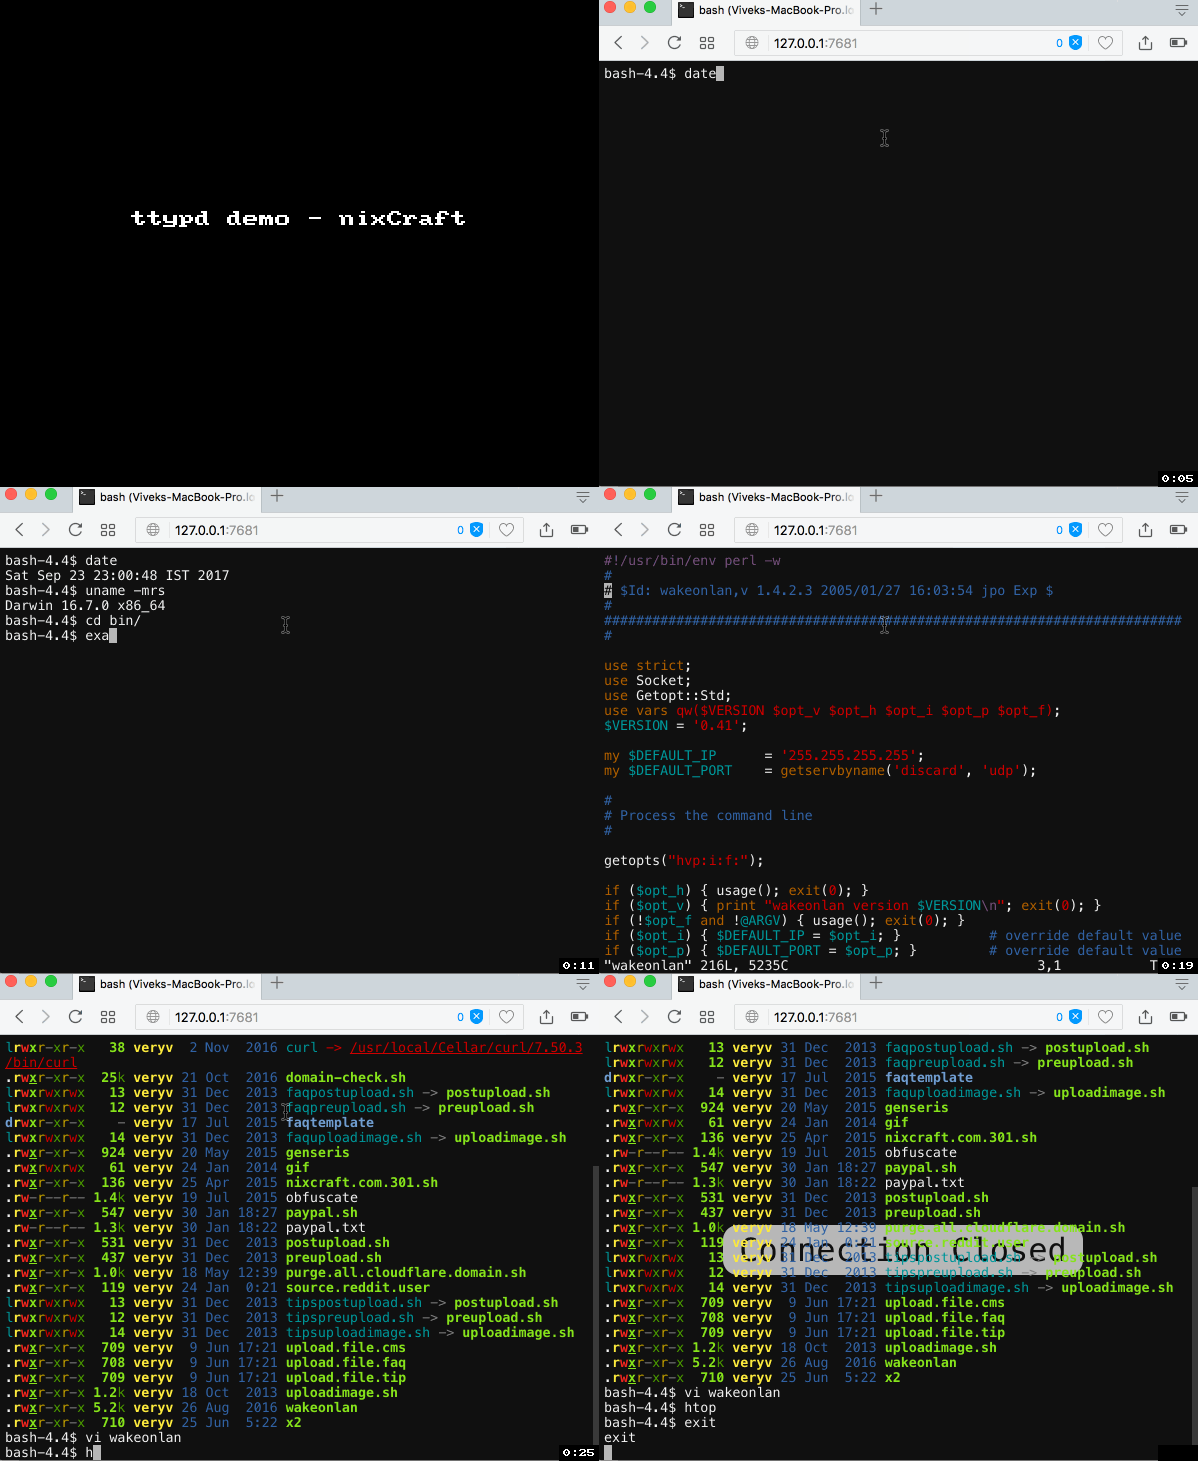
ttyd is a simple command-line tool for sharing terminal over the web, inspired by GoTTY. It is built on top of Libwebsockets with C for speed. Works with macOS, Linux, FreeBSD, OpenWrt/LEDE, and MS-Windows oses.
Installation
If you are using macOS, run the following brew command: $ brew install ttyd
Sample outputs: