The excitement of installing a new version of macOS, especially if it’s a High Sierra 10.13, is only tempered by the possibility of it not working properly or not being compatible with the apps you use most.
Before you begin upgrade to MacOS make a bootable backup
If you haven’t started the process of upgrading yet, check if the Mac is compatible with macOS High Sierra and make a bootable backup.
Do it now, before you do anything else. If things go disastrously wrong at least you’ll be able to boot from macOS’ Recovery partition and migrate all your data back to your Mac. You can use any backup tool you like – Apple obviously favours Time Machine, but you don’t have to use it. You can use, for example, Get Backup Pro, which comes with your Setapp subscription. Don’t have a Setapp subscription? Click here to sign up.
Common MacOS High Sierra Problems
While most new versions of macOS are relatively problem-free, it’s not unknown for users to have issues – particularly with a beta or .0 release. Thankfully most are easy to resolve. Here’s how to fix the most common High Sierra issues.
High Sierra Installer Won’t Download
If you’re trying to download the macOS High Sierra installer, you’ll need to have signed up to App Store. If you’ve done that, and managed to start the downloading process only for it to fail, force quit the App Store app.
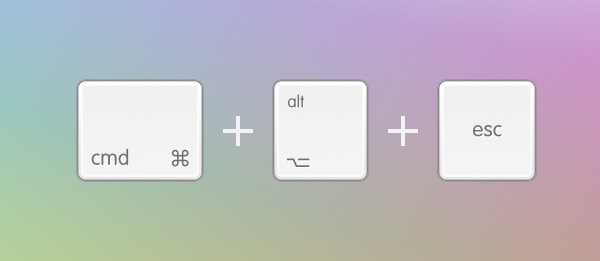
Press Cmd-Alt-Esc or go to the Apple menu and choose Force Quit.
Select the App Store app and confirm you want to force quit.
Re-launch the App Store and try downloading again.
Macos High Sierra Won’t Install
If the download completes successfully but the installation doesn’t finish, force quit the installer using the same procedure as above.
Restart your Mac
Launch the App Store app and go to the Purchases tab.
Find macOS High Sierra and click Install.
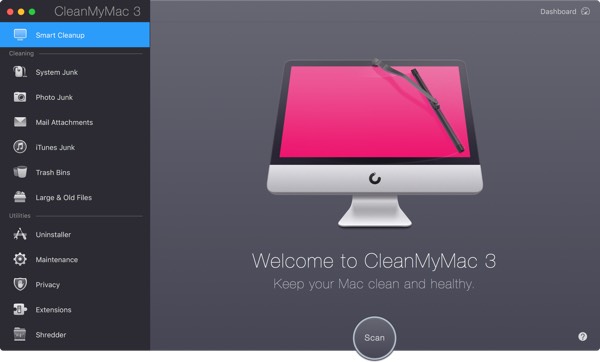
If that doesn’t work, try deleting the downloaded installer (it’s in your Applications folder) using CleanMyMac and download it again.
If you have a copy of macOS Server in your applications folder, that may be the root of the problem. Delete it and try again.
Mon NAS Synology vient de mettre à jour son firmware DSM et je constate en lançant ma sauvegarde rsync que la connexion rsync vers le NAS ne se fait plus : après saisie du mot de passe, on obtient une erreur “permission denied”.
Voici comment remédier à ce petit désagrément en deux minutes montre en main.
on obtient le message d’erreur suivant, après saisie du mot de passe:
Permission denied, please try again.
rsync: connection unexpectedly closed (0 bytes received so far) [sender]
rsync error: error in rsync protocol data stream (code 12) at io.c(226) [sender=3.1.1]
Après vérification que les identifiants (user/password) sont bien corrects, il s’avère que la solution réside dans l’utilisation de l’argument --rsync-path afin d’expliciter le chemin de l’exécutable rsync présent sur le NAS.
Si vous êtes l’heureux propriétaire d’un Mac, j’imagine que vous savez qu’en cas de problème technique, il est possible au démarrage de l’ordinateur de remettre à zéro certaines mémoires (PRAM, NVRAM) ou de partir sur un mode recovery.
Mais à chaque fois, ces raccourcis clavier à faire au démarrage du Mac sont une galère à retrouver. C’est pourquoi je vais tous les passer en revue ici et vous n’aurez plus qu’à bookmarker cette page pour la prochaine fois.
Pour utiliser ces raccourcis, vous devez d’abord éteindre complètement l’ordinateur, puis le rallumer, et immédiatement dès que vous avez appuyé sur le bouton d’allumage, maintenir enfoncées les touches suivantes :
Shift (maj) : Permet de démarrer le Mac en mode « safe ». C’est à dire en mode de base, sans toutes les applications que vous auriez pu installer au démarrage. Cela permet de savoir si votre souci est provoqué par une de vos applications ou par un processus propre au système macOS.
Option (alt) : Lance le gestionnaire de boot qui vous permettra de choisir le disque sur lequel vous voulez booter.
Command + R : Démarre en mode récupération (Recovery Mode). Cela vous permettra de remettre à zéro votre Mac, de réinstaller macOS, de restaurer une TimeMachine, ou d’utiliser la ligne de commande ou l’utilitaire de disques pour réparer ou formater un disque dur.
Shift + Command + Option + R : Lance aussi le mode Internet Recovery. C’est comme le mode de récupération décrit ci-dessus sauf que tout se lance à partir d’Internet. Cela permet de réinstaller macOS ou autre, même quand la partition de récupération est totalement HS.
Want to share your terminal over the web for demo, learning or collaboration purpose? Try these two applications to share your terminal as a web application.
Please note that accepting input from remote clients is dangerous for most commands. When you need interaction with the TTY for some reasons, consider starting following tools with tmux or GNU Screen and run your command on it. Use following tools with trusted parties or inside VM. Let us see how to install and use gotty and ttyd on a Unix-like system.
1. gotty
GoTTY is a simple command line tool that turns your CLI tools into web applications. It is written in go programming language.
Installation
You can install gotty on macOS using the brew command: $ brew install yudai/gotty/gotty
Sample outputs:
Updating Homebrew...
==> Tapping yudai/gotty Cloning into '/usr/local/Homebrew/Library/Taps/yudai/homebrew-gotty'...
remote: Counting objects: 5, done.
remote: Compressing objects: 100% (5/5), done.
remote: Total 5 (delta 1), reused 2 (delta 0), pack-reused 0
Unpacking objects: 100% (5/5), done.
Tapped 1 formula (30 files, 22.7KB)
==> Installing gotty from yudai/gotty
==> Downloading https://github.com/yudai/gotty/releases/download/v1.0.1/gotty_darwin_amd64.tar.gz
==> Downloading from https://github-production-release-asset-2e65be.s3.amazonaws.com/40808571/c401bd34-7bd9-11e7-8
######################################################################## 100.0%
==> Caveats GoTTY! ==> Summary
? /usr/local/Cellar/gotty/v1.0.1: 3 files, 8.2MB, built in 1 minute
Another option for Linux or Unix like system is to type the following command if you have a go language dev setup installed:
Fire a browser and type the url: http://127.0.0.1:8080/ OR from another computer in your LAN/VLAN: http://192.168.225.106:8080/
Sample outputs:
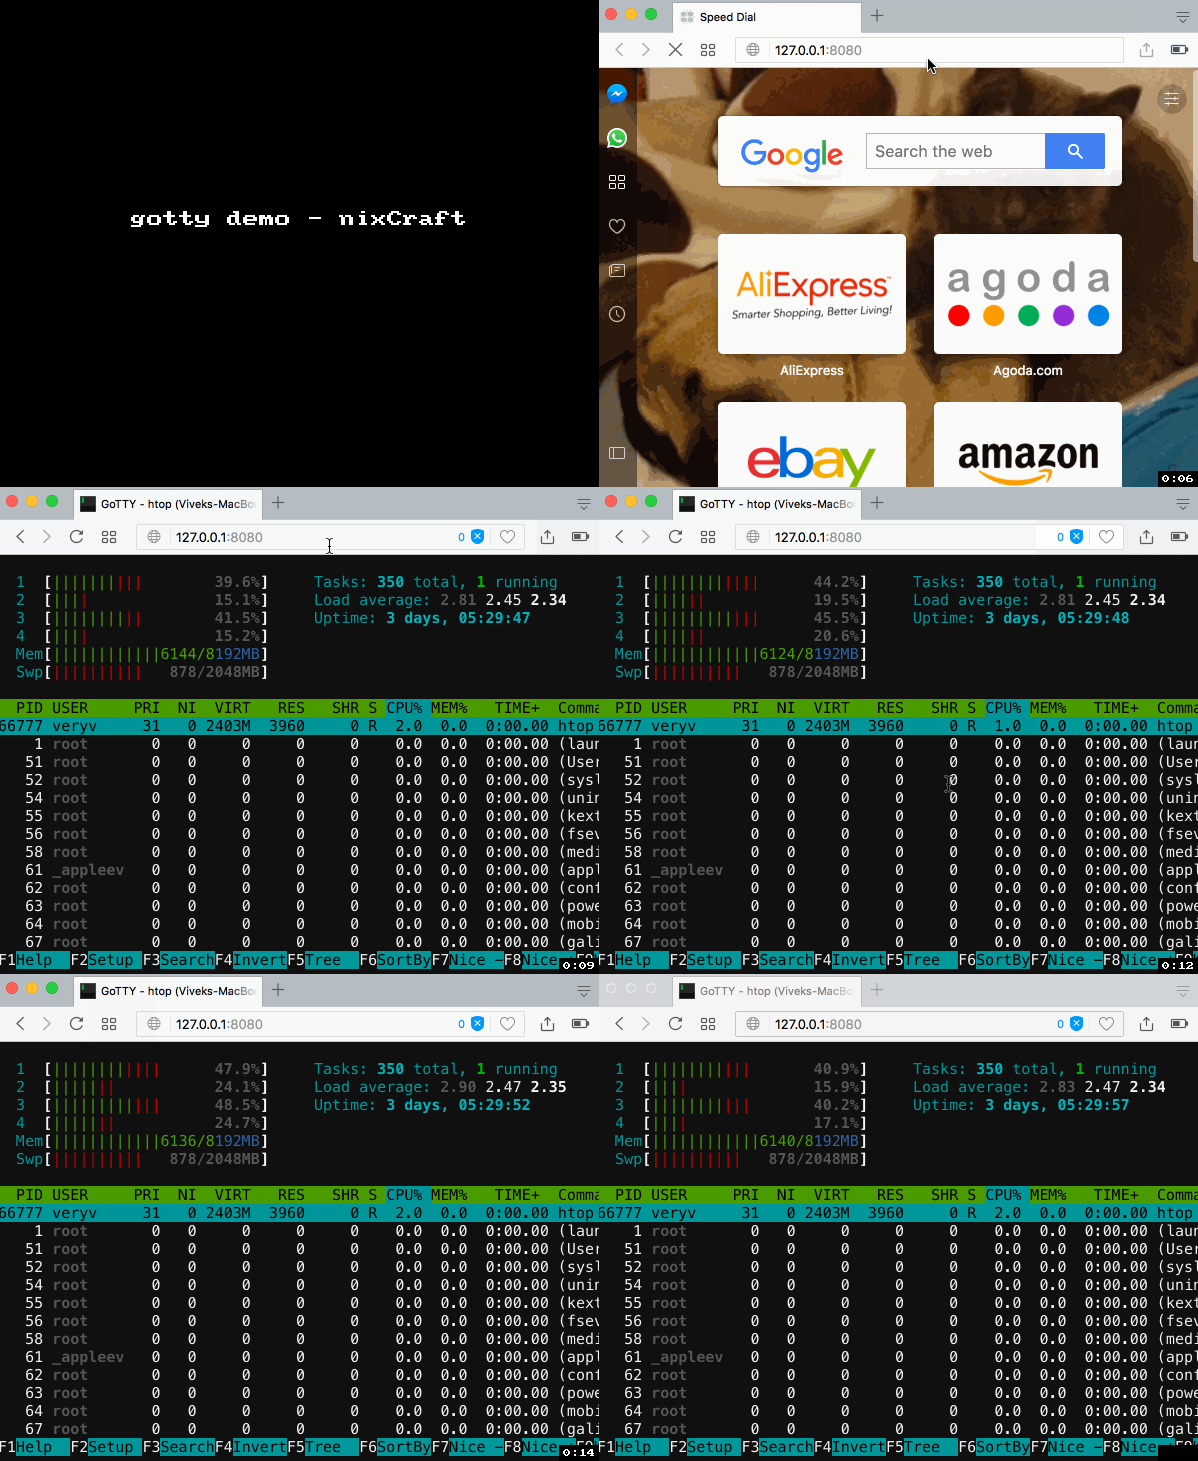
Gif 01: gotty in action
For more info and documentation see gotty home page.
2. ttyd
ttyd is a simple command-line tool for sharing terminal over the web, inspired by GoTTY. It is built on top of Libwebsockets with C for speed. Works with macOS, Linux, FreeBSD, OpenWrt/LEDE, and MS-Windows oses.
Installation
If you are using macOS, run the following brew command: $ brew install ttyd Sample outputs:
Some Mac uses like to create a bootable USB installer drive for macOS High Sierra. A bootable install volume of macOS 10.13 allows users to perform a variety of tasks including formatting and clean installs, updating multiple Macs from the same USB flash drive installer (and without re downloading), and to use as a troubleshooting boot drive should the need arise, amongst other benefits for advanced and more technical users.
This walkthrough will detail how to make a bootable USB install drive for macOS High Sierra.
Requirements to Create a macOS High Sierra Bootable USB Installer
To create a functioning macOS High Sierra installer boot drive, you will need the following:
Beyond that you’ll just need a bit of patience and a bit of technical know-how or comfort following technical instructions. Making a USB install drive requires the usage of precise syntax at the command line with superuser privileges, using the wrong syntax could lead to unintended data loss.
How to Make a Bootable USB Installer for macOS High Sierra
Connect the USB flash drive to the Mac, if you need to format it go ahead and do so
Download macOS High Sierra installer application from the App Store* and be sure the complete installer is located in the /Applications/ directory
When the installer has completed downloading, it will automatically launch – quit out of the installer when this occurs
Open the “Terminal” application found in /Applications/Utilities/ directory on the Mac
Enter the following command syntax at the command line, replacing “UNTITLED” with your USB drive name if necessary:
Confirm the syntax is exactly as written, then hit the RETURN key and enter the administrator password to start making the High Sierra installer drive *
Let the installer complete, when finished you will be informed that the process has completed
Once you have created the USB boot installer drive for macOS High Sierra, you can either launch it immediately to install macOS High Sierra on the current Mac, reboot and startup from the USB installer drive, or eject it and use it on another Mac.
* Note: if you are getting a “command not found” error and you are certain your syntax is correct, be sure to check the file size of the “Install macOS High Sierra.app” as found in the /Applications folder. If the file size of the High Sierra installer is not over 5GB then you have the incomplete installer and will need to download the complete macOS High Sierra installer application as described here in order to create a bootable installer drive.
Booting from the macOS High Sierra USB Installer Drive
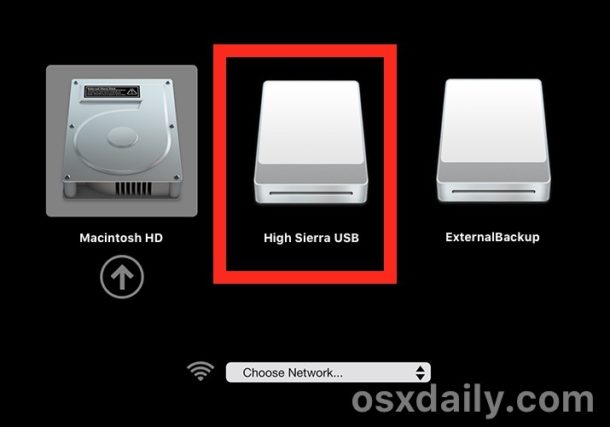
With the newly created macOS High Sierra USB installer drive connected to the Mac, reboot the computer. Immediately on reboot, start holding down the “OPTION” (ALT) key to load the boot menu. Select the High Sierra installer at this screen.
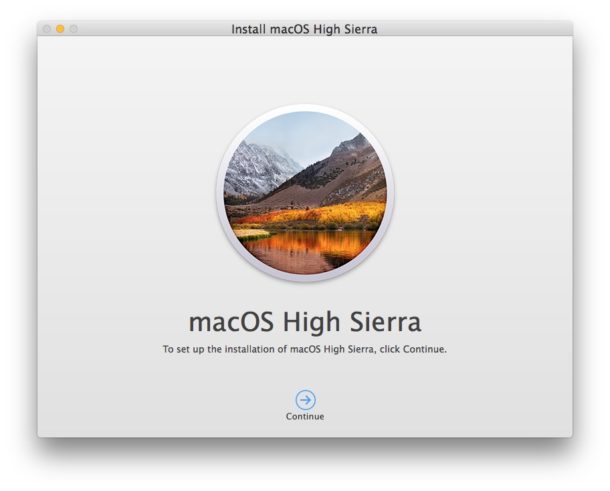
Once booted from the USB drive you can proceed with installing macOS High Sierra, using the Disk Utility tools to format or erase a volume, work with Time Machine, and other similar tasks.
If you had previously created a boot installer for the High Sierra beta you may notice the syntax is different for createinstallmedia is different with the final version, part of that is to accommodate the new file name of the application installer, and the remainder removes the necessity of the –applicationpath flag and directive.
Keep in mind that macOS High Sierra can only be installed onto supported hardware, if you’re uncertain whether or not a particular computer supports the release you can check this list of macOS High Sierra compatible Macs.