Counterpoint Hackerspace, une bande de geeks localisée à Roswell dans l’état de Georgie aux États unis, a eu l’excellente idée de mettre au point un outil permettant de stocker sur Tor des fichiers, un peu à la manière d’un espace « cloud », mais avec tous les avantages que Tor peut apporter : anonymat, décentralisation et gestion par la communauté. Lire la suite…
The excitement of installing a new version of macOS, especially if it’s a High Sierra 10.13, is only tempered by the possibility of it not working properly or not being compatible with the apps you use most.
Before you begin upgrade to MacOS make a bootable backup
If you haven’t started the process of upgrading yet, check if the Mac is compatible with macOS High Sierra and make a bootable backup.
Do it now, before you do anything else. If things go disastrously wrong at least you’ll be able to boot from macOS’ Recovery partition and migrate all your data back to your Mac. You can use any backup tool you like – Apple obviously favours Time Machine, but you don’t have to use it. You can use, for example, Get Backup Pro, which comes with your Setapp subscription. Don’t have a Setapp subscription? Click here to sign up.
Common MacOS High Sierra Problems
While most new versions of macOS are relatively problem-free, it’s not unknown for users to have issues – particularly with a beta or .0 release. Thankfully most are easy to resolve. Here’s how to fix the most common High Sierra issues.
High Sierra Installer Won’t Download
If you’re trying to download the macOS High Sierra installer, you’ll need to have signed up to App Store. If you’ve done that, and managed to start the downloading process only for it to fail, force quit the App Store app.
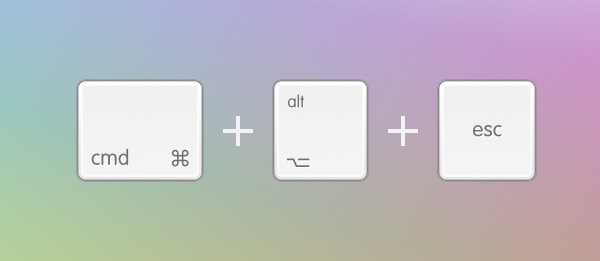
Press Cmd-Alt-Esc or go to the Apple menu and choose Force Quit.
Select the App Store app and confirm you want to force quit.
Re-launch the App Store and try downloading again.
Macos High Sierra Won’t Install
If the download completes successfully but the installation doesn’t finish, force quit the installer using the same procedure as above.
Restart your Mac
Launch the App Store app and go to the Purchases tab.
Find macOS High Sierra and click Install.
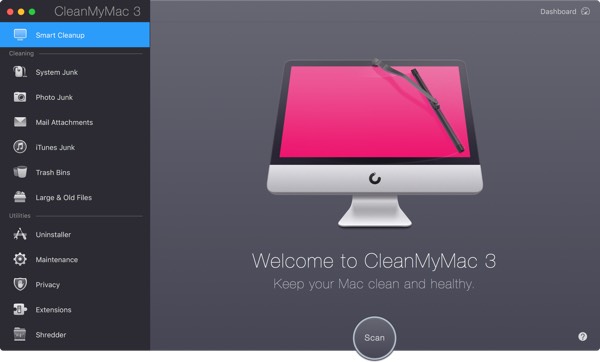
If that doesn’t work, try deleting the downloaded installer (it’s in your Applications folder) using CleanMyMac and download it again.
If you have a copy of macOS Server in your applications folder, that may be the root of the problem. Delete it and try again.
Mon NAS Synology vient de mettre à jour son firmware DSM et je constate en lançant ma sauvegarde rsync que la connexion rsync vers le NAS ne se fait plus : après saisie du mot de passe, on obtient une erreur “permission denied”.
Voici comment remédier à ce petit désagrément en deux minutes montre en main.
on obtient le message d’erreur suivant, après saisie du mot de passe:
Permission denied, please try again.
rsync: connection unexpectedly closed (0 bytes received so far) [sender]
rsync error: error in rsync protocol data stream (code 12) at io.c(226) [sender=3.1.1]
Après vérification que les identifiants (user/password) sont bien corrects, il s’avère que la solution réside dans l’utilisation de l’argument --rsync-path afin d’expliciter le chemin de l’exécutable rsync présent sur le NAS.
Want to share your terminal over the web for demo, learning or collaboration purpose? Try these two applications to share your terminal as a web application.
Please note that accepting input from remote clients is dangerous for most commands. When you need interaction with the TTY for some reasons, consider starting following tools with tmux or GNU Screen and run your command on it. Use following tools with trusted parties or inside VM. Let us see how to install and use gotty and ttyd on a Unix-like system.
1. gotty
GoTTY is a simple command line tool that turns your CLI tools into web applications. It is written in go programming language.
Installation
You can install gotty on macOS using the brew command: $ brew install yudai/gotty/gotty
Sample outputs:
Updating Homebrew...
==> Tapping yudai/gotty Cloning into '/usr/local/Homebrew/Library/Taps/yudai/homebrew-gotty'...
remote: Counting objects: 5, done.
remote: Compressing objects: 100% (5/5), done.
remote: Total 5 (delta 1), reused 2 (delta 0), pack-reused 0
Unpacking objects: 100% (5/5), done.
Tapped 1 formula (30 files, 22.7KB)
==> Installing gotty from yudai/gotty
==> Downloading https://github.com/yudai/gotty/releases/download/v1.0.1/gotty_darwin_amd64.tar.gz
==> Downloading from https://github-production-release-asset-2e65be.s3.amazonaws.com/40808571/c401bd34-7bd9-11e7-8
######################################################################## 100.0%
==> Caveats GoTTY! ==> Summary
? /usr/local/Cellar/gotty/v1.0.1: 3 files, 8.2MB, built in 1 minute
Another option for Linux or Unix like system is to type the following command if you have a go language dev setup installed:
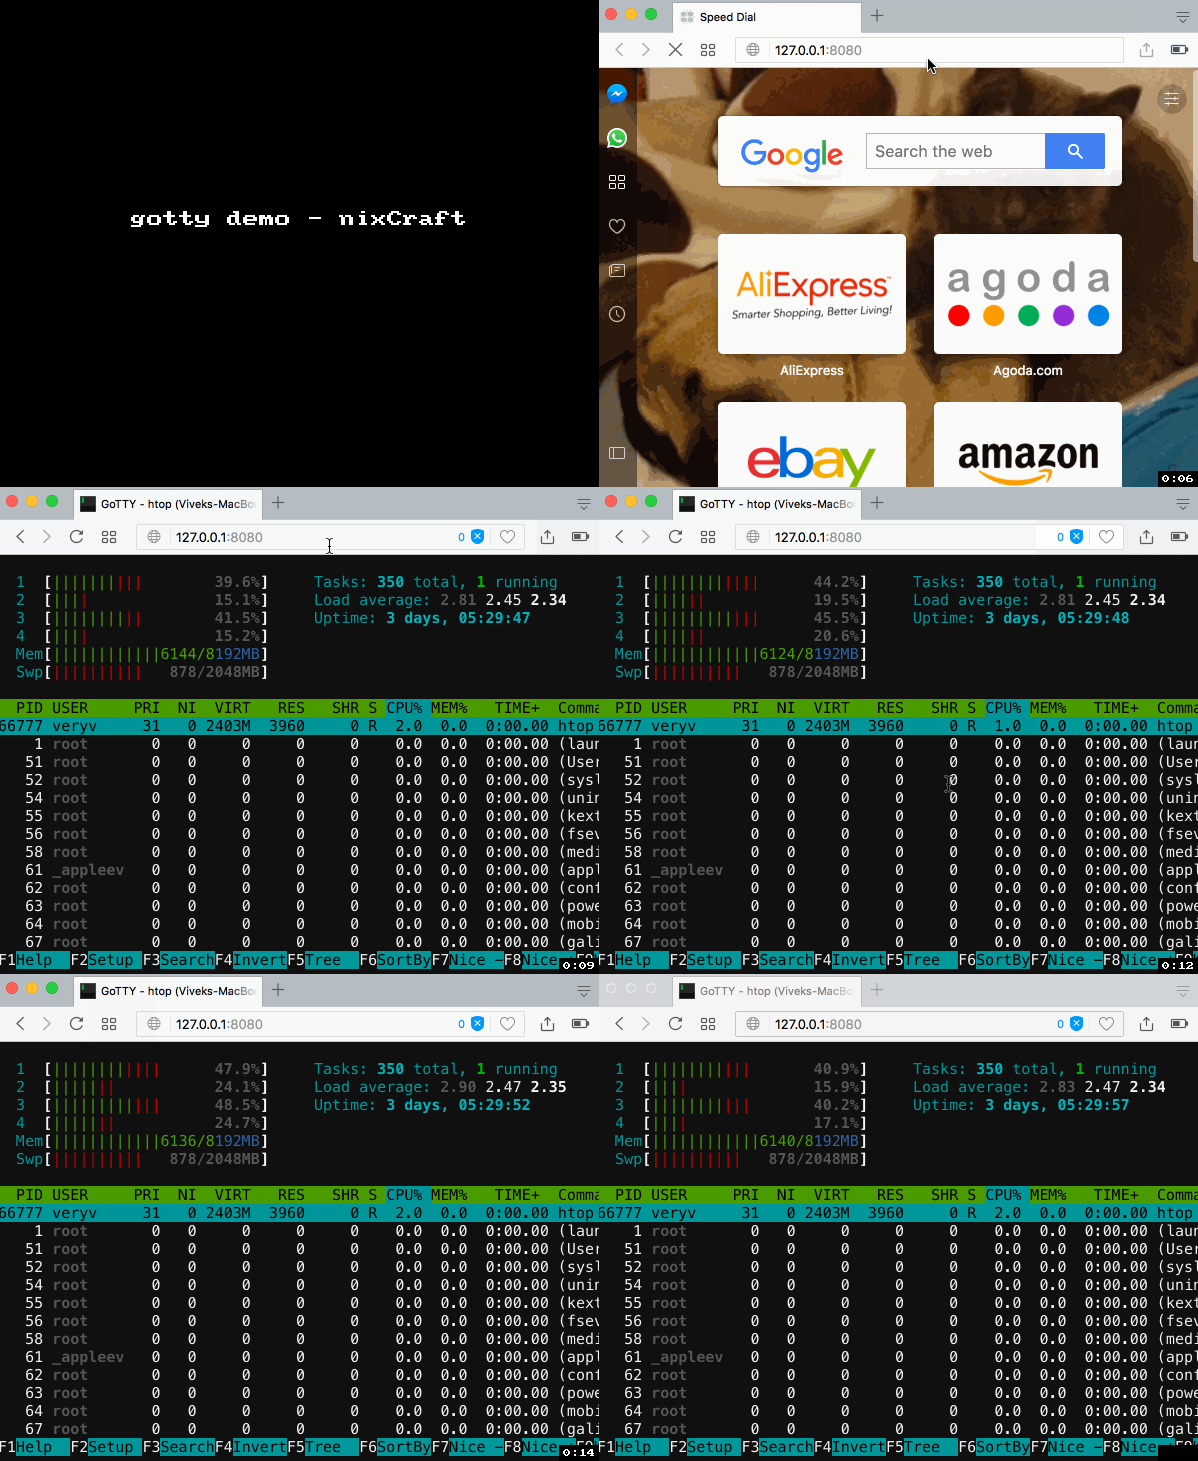
Fire a browser and type the url: http://127.0.0.1:8080/ OR from another computer in your LAN/VLAN: http://192.168.225.106:8080/
Sample outputs:
Gif 01: gotty in action
For more info and documentation see gotty home page.
2. ttyd
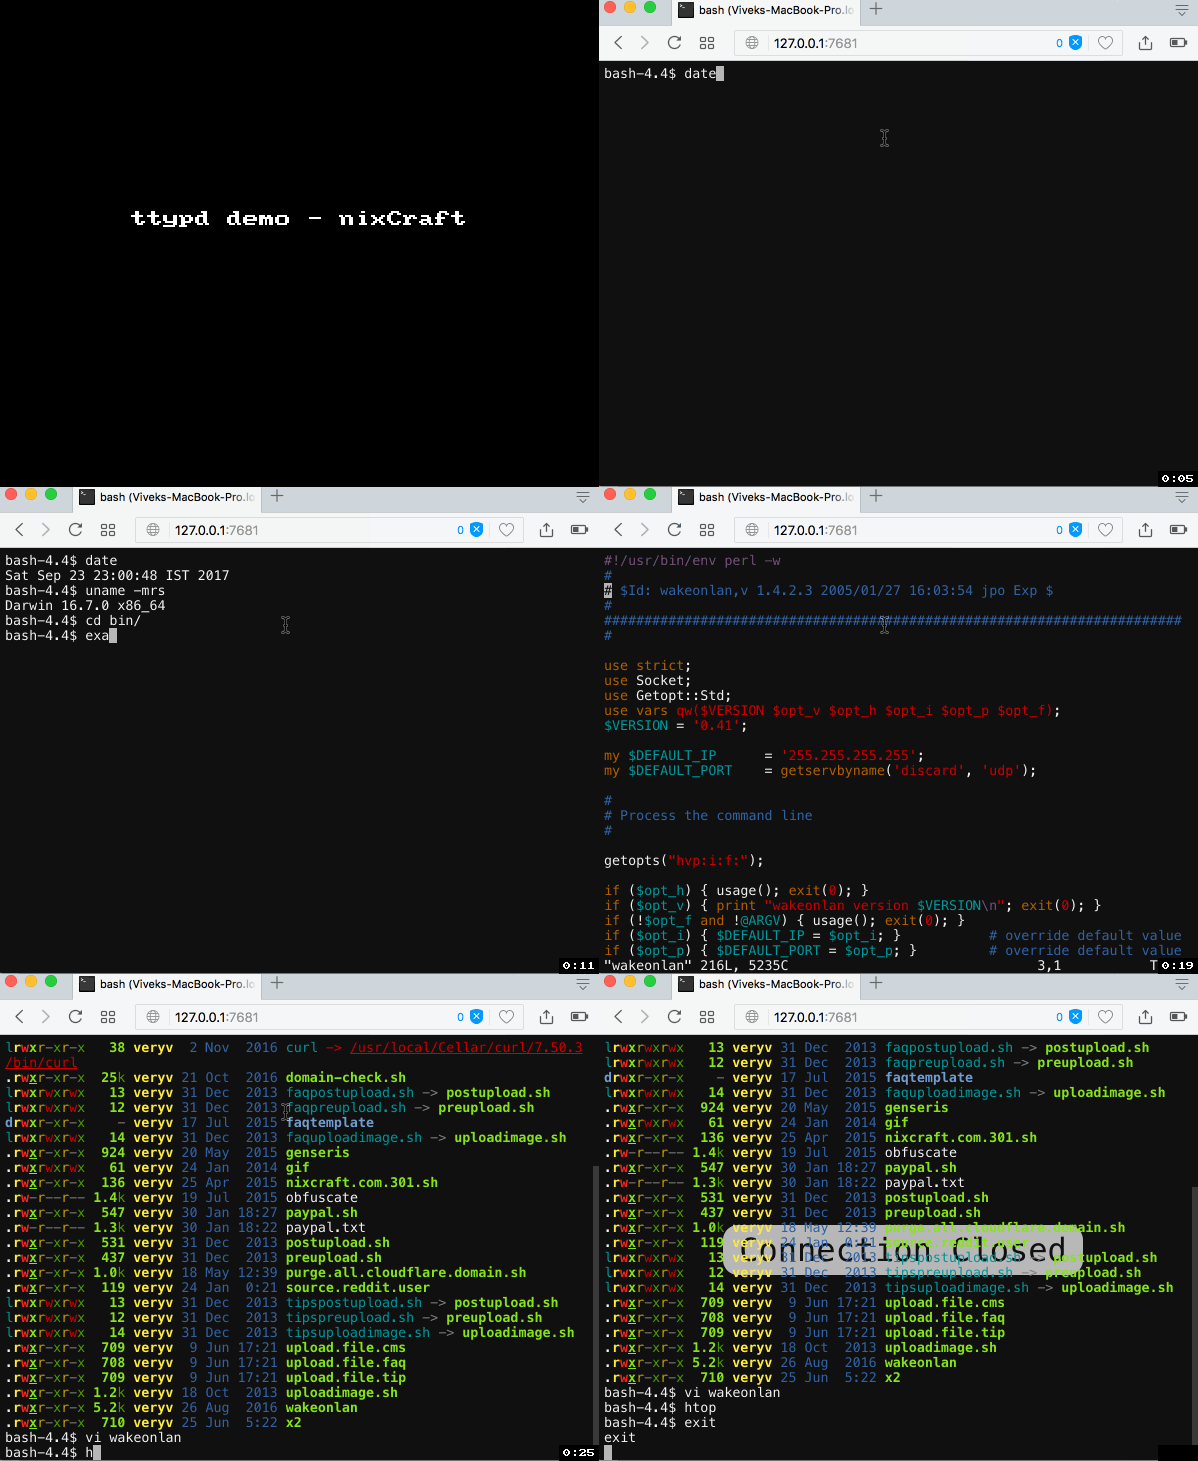
ttyd is a simple command-line tool for sharing terminal over the web, inspired by GoTTY. It is built on top of Libwebsockets with C for speed. Works with macOS, Linux, FreeBSD, OpenWrt/LEDE, and MS-Windows oses.
Installation
If you are using macOS, run the following brew command: $ brew install ttyd Sample outputs:
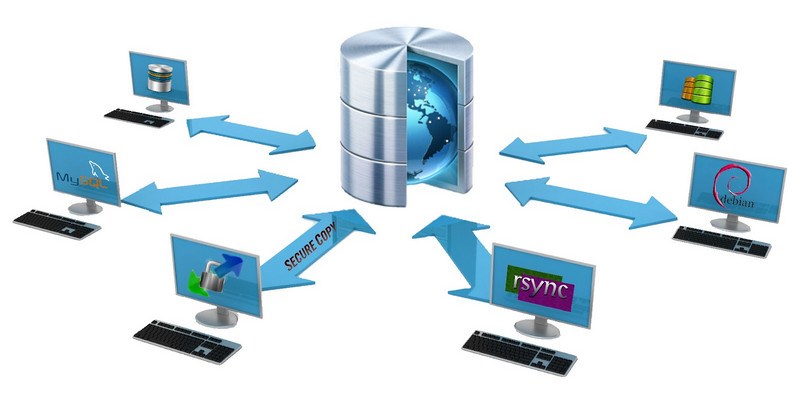
Well folks its time that my old home hosted server is retired. Which means I have to migrate all of my 5 websites to a new server. Thanks to the way apache, MySQL WordPress and Drupal work, its easy.
This will copy all the apache config files over to the new server. Now enable all the sites you copied by creating a symbolic link for each .config file you copied in sites-enabled.
or use the command a2ensite which does the same thing for you
# a2ensite yourwebsite.com
Restart apache for the changes to take effect.
# /etc/init.d/apache2 restart
2. Copy Your Websites
# scp -r /var/www/ username@newserver:/var/www
Default WordPress and Drupal installs are just files and we have now copied them across. However all the content, comments etc are stored within MySQL so lets migrate that now.
What we did here was use mysqldump to script every database and its contents into several sql commands. Then we copied them to the new server and piped them into the new sql server. All our databases, users and table contents have been imported. Magic.
4. DNS Migration
Now all you need to do is reconfigure your DNS servers to point to the new IP address. Chances are your not hosting your own DNS server so you will have to update them using your provider’s web interface. A word of advice though, create a new entry like test.yourdomain.com and point it to the new server first to make sure everything works.