At the command line, environmental variables are defined for the current shell and become inherited by any running command or process. They can determine anything from the default shell, the PATH, the users home directory, to the terminal emulation type, current working directory, where a history file is located, language and localization settings, and going further to include shell variables, which include everything from customizations to the bash prompt, colorized ls output, and changes to terminal appearance, to aliases, and much more.
Let’s walk through how to list environment and shell variables, and then how to set and add new environment variables at the command line of Mac OS X.
Displaying Current Environment & Shell Variables in Mac OS X
To quickly get a list of environmental variables, you can use the following command:
printenv
If you want to see a complete list of shell variables, the ‘set’ command can be issued as well:
set
The output of these commands can be lengthy so you may wish to pipe the output through the less or more commands. Lire la suite…
Want to share your terminal over the web for demo, learning or collaboration purpose? Try these two applications to share your terminal as a web application.
Please note that accepting input from remote clients is dangerous for most commands. When you need interaction with the TTY for some reasons, consider starting following tools with tmux or GNU Screen and run your command on it. Use following tools with trusted parties or inside VM. Let us see how to install and use gotty and ttyd on a Unix-like system.
1. gotty
GoTTY is a simple command line tool that turns your CLI tools into web applications. It is written in go programming language.
Installation
You can install gotty on macOS using the brew command: $ brew install yudai/gotty/gotty
Sample outputs:
Updating Homebrew...
==> Tapping yudai/gotty Cloning into '/usr/local/Homebrew/Library/Taps/yudai/homebrew-gotty'...
remote: Counting objects: 5, done.
remote: Compressing objects: 100% (5/5), done.
remote: Total 5 (delta 1), reused 2 (delta 0), pack-reused 0
Unpacking objects: 100% (5/5), done.
Tapped 1 formula (30 files, 22.7KB)
==> Installing gotty from yudai/gotty
==> Downloading https://github.com/yudai/gotty/releases/download/v1.0.1/gotty_darwin_amd64.tar.gz
==> Downloading from https://github-production-release-asset-2e65be.s3.amazonaws.com/40808571/c401bd34-7bd9-11e7-8
######################################################################## 100.0%
==> Caveats GoTTY! ==> Summary
? /usr/local/Cellar/gotty/v1.0.1: 3 files, 8.2MB, built in 1 minute
Another option for Linux or Unix like system is to type the following command if you have a go language dev setup installed:
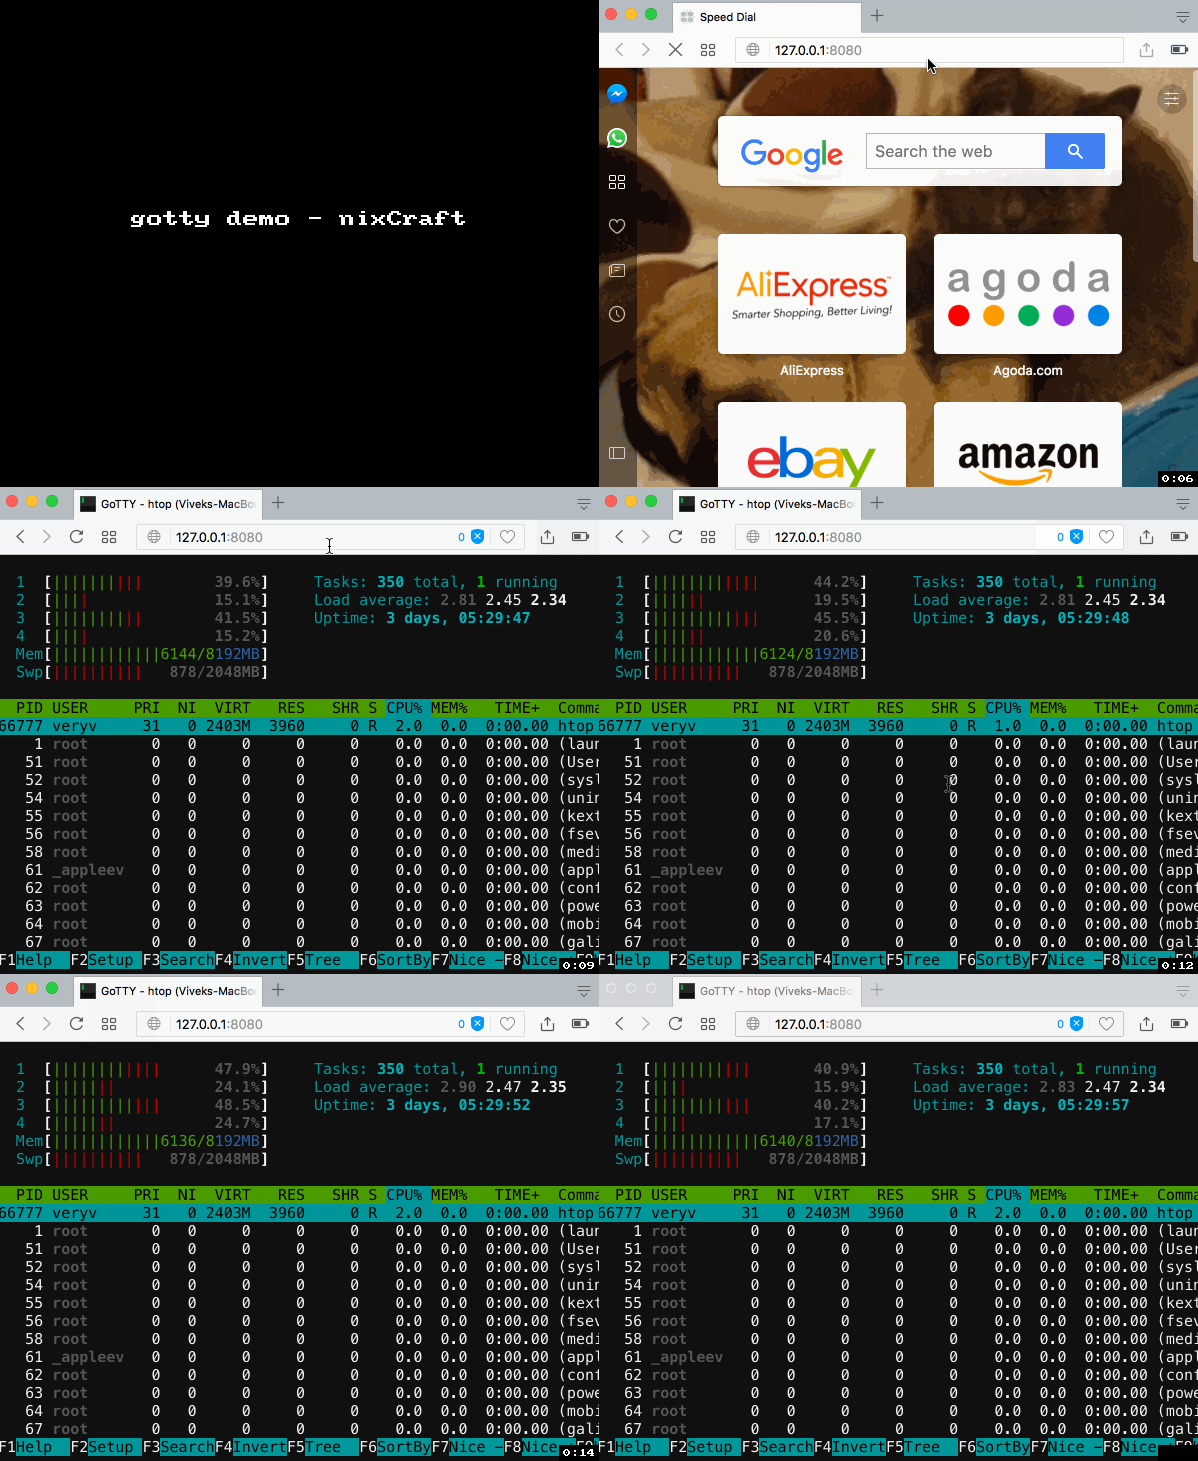
Fire a browser and type the url: http://127.0.0.1:8080/ OR from another computer in your LAN/VLAN: http://192.168.225.106:8080/
Sample outputs:
Gif 01: gotty in action
For more info and documentation see gotty home page.
2. ttyd
ttyd is a simple command-line tool for sharing terminal over the web, inspired by GoTTY. It is built on top of Libwebsockets with C for speed. Works with macOS, Linux, FreeBSD, OpenWrt/LEDE, and MS-Windows oses.
Installation
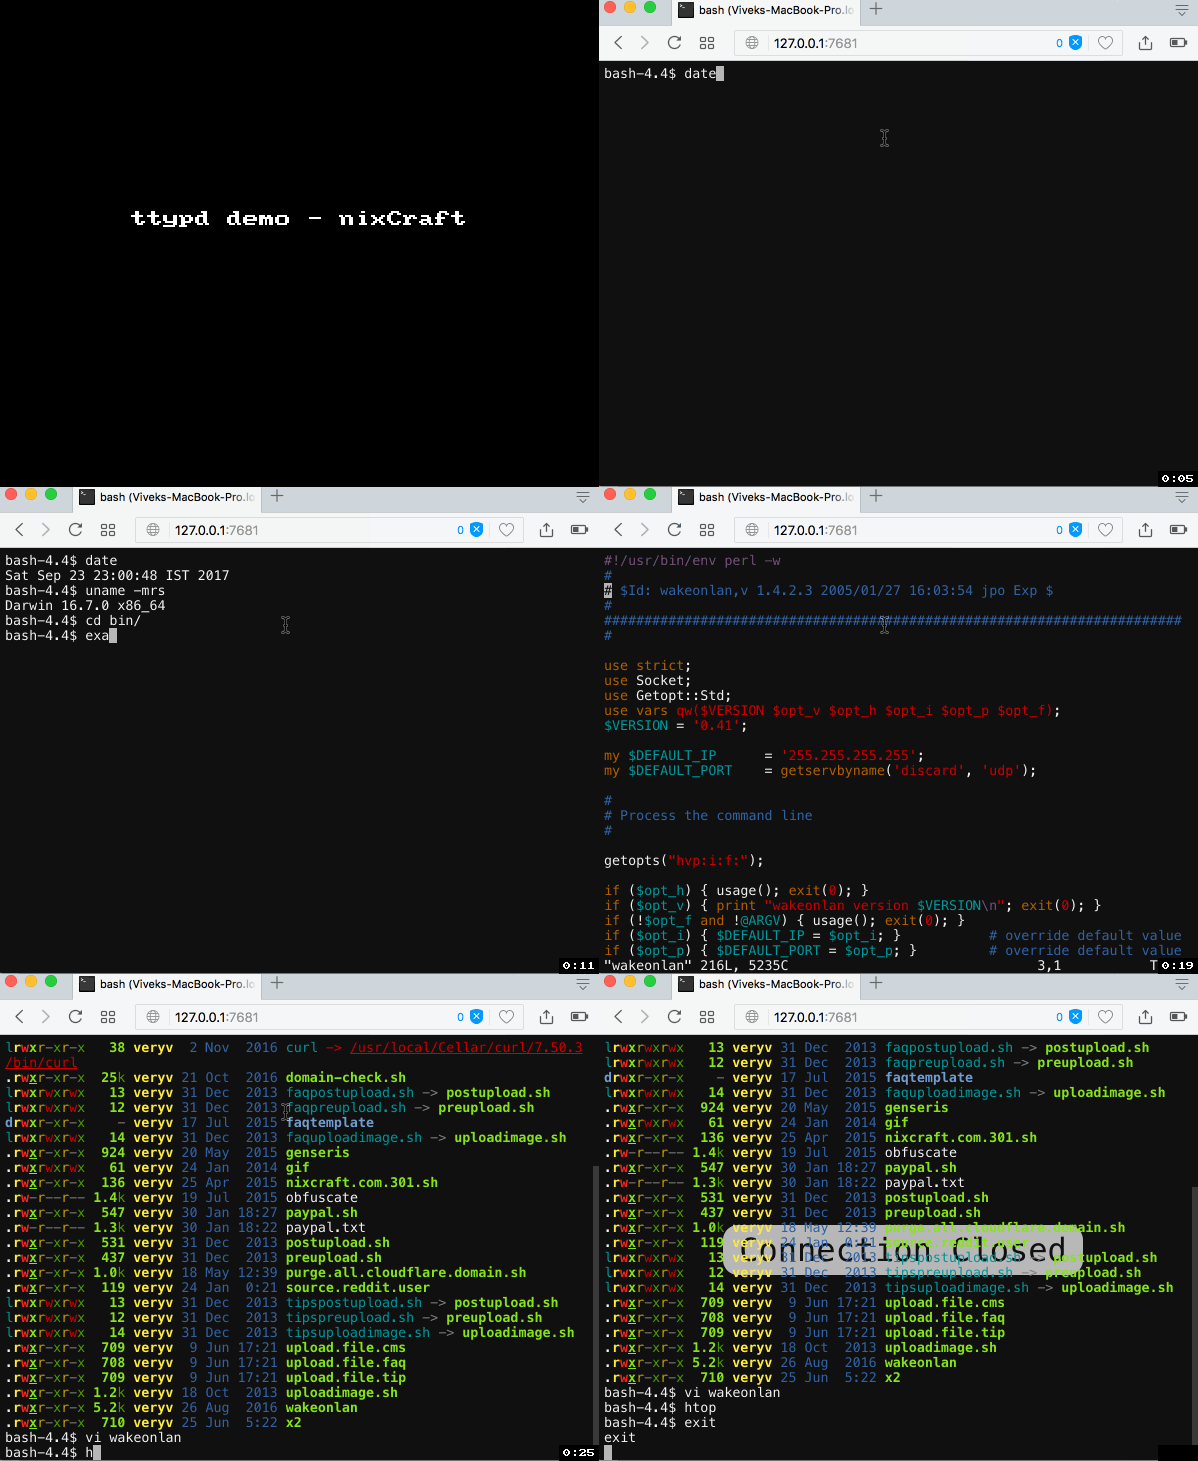
If you are using macOS, run the following brew command: $ brew install ttyd Sample outputs:
An alias is nothing but the shortcut to commands. The alias command allows the user to launch any command or group of commands (including options and filenames) by entering a single word. Use alias command to display a list of all defined aliases. You can add user-defined aliases to ~/.bashrcfile. You can cut down typing time with these aliases, work smartly, and increase productivity at the command prompt.
More about aliases
The general syntax for the alias command for the bash shell is as follows:
Task: List aliases
Type the following command:
alias
Sample outputs:
alias ..='cd ..'
alias amazonbackup='s3backup'
alias apt-get='sudo apt-get'
...
By default alias command shows a list of aliases that are defined for the current user.
The wc command shows the number of lines, words, and bytes contained in file. The syntax is as follows to get the file size: wc -c /path/to/file wc -c /etc/passwd Sample outputs:
5253 /etc/passwd
You can easily extract the first field either using the cut or awk command: wc -c /etc/passwd | awk '{print $1}' Sample outputs:
How to get the size of a file in a bash script using stat command
The stat command shows information about the file. The syntax is as follows to get the file size on GNU/Linux stat: stat -c %s "/etc/passwd" OR stat --format=%s "/etc/passwd" To assign this size to a bash variable:
myfilesize=$(stat--format=%s "/etc/passwd")echo"$myfilesize"## or ##myFileSizeCheck=$(stat-c%s "/etc/resolv.conf")printf"My file size = %d\n"$myFileSizeCheck
The syntax is as follows to get the file size on BSD/MacOS stat: stat -f %z "/etc/passwd" Please note that if the file is symlink you will get size of that link only with the stat command.
How can I extract or fetch a domain name from a URL string (e.g. https://www.cyberciti.biz/index.php) using bash shell scripting under Linux or Unix-like operating system?
You can use standard Unix commands such as sed, awk, grep, Perl, Python and more to get domain name from URL. No need to write regex. It is pretty simple.
Let use see various commands and option to grab the domain part from given variable under Linux or Unix-like system.
Get domain name from full URL
Say your url name is stored in a bash shell variable such as $x: x='https://www.dbsysnet.com/' You can use the awk as follows: echo "$x" | awk -F/ '{print $3}' ### OR ### awk -F/ '{print $3}' <<<$x Sample outputs:
www.dbsysnet.com
Extract domain name from URL using sed
Here is a sample sed command: url="https://www.dbsysnet.com" echo "$url" | sed -e 's|^[^/]*//||' -e 's|/.*$||'
Extract domain name from URL using bash shell parameter substitution
# My shell variable f="https://www.cyberciti.biz/faq/copy-command/"## Remove protocol part of url ##f="${f#http://}"f="${f#https://}"f="${f#ftp://}"f="${f#scp://}"f="${f#scp://}"f="${f#sftp://}"## Remove username and/or username:password part of URL ##f="${f#*:*@}"f="${f#*@}"## Remove rest of urls ##f=${f%%/*}## Show domain name only ##echo"$f"