Rate-limit Incoming Port 22 Connections

17/02/2024 Categories: Réseau, Sécurité Tags: , , , , Comments off

Both netfilter and pf provides rate-limit option to perform simple throttling on incoming connections on port # 22.

Iptables Example

The following example will drop incoming connections which make more than 5 connection attempts upon port 22 within 60 seconds:

#!/bin/bash
inet_if=eth1
ssh_port=22
$IPT -I INPUT -p tcp --dport ${ssh_port} -i ${inet_if} -m state --state NEW -m recent  --set
$IPT -I INPUT -p tcp --dport ${ssh_port} -i ${inet_if} -m state --state NEW -m recent  --update --seconds 60 --hitcount 5 -j DROP

Call above script from your iptables scripts. Another config option:

$IPT -A INPUT  -i ${inet_if} -p tcp --dport ${ssh_port} -m state --state NEW -m limit --limit 3/min --limit-burst 3 -j ACCEPT
$IPT -A INPUT  -i ${inet_if} -p tcp --dport ${ssh_port} -m state --state ESTABLISHED -j ACCEPT
$IPT -A OUTPUT -o ${inet_if} -p tcp --sport ${ssh_port} -m state --state ESTABLISHED -j ACCEPT
# another one line example
# $IPT -A INPUT -i ${inet_if} -m state --state NEW,ESTABLISHED,RELATED -p tcp --dport 22 -m limit --limit 5/minute --limit-burst 5-j ACCEPT

See iptables man page for more details.

*BSD PF Example

The following will limits the maximum number of connections per source to 20 and rate limit the number of connections to 15 in a 5 second span. If anyone breaks our rules add them to our abusive_ips table and block them for making any further connections. Finally, flush keyword kills all states created by the matching rule which originate from the host which exceeds these limits.

sshd_server_ip="202.54.1.5"
table <abusive_ips> persist
block in quick from <abusive_ips>
pass in on $ext_if proto tcp to $sshd_server_ip port ssh flags S/SA keep state (max-src-conn 20, max-src-conn-rate 15/5, overload <abusive_ips> flush)
Vous avez perdu le mot de passe root de MySQL ?

17/02/2024 Categories: Bases de données, Système Tags: , , , , , Comments off

Que ce soit lors de la première installation ou après la perte du mot de passe principal de MySQL, il est nécessaire de pouvoir modifier le mot de passe administrateur (root) de MySQL.

Pour pouvoir modifier le mot de passe root de MySQL, il faut pouvoir s’y connecter, Or, si vous n’avez pas le mot de passe root actuel, vous vous retrouvez alors dans une situation kafkaïenne. Si vous connaissez le mot de passe actuel de MySQL et que vous souhaitez juste changer le mot de passe root, vous pouvez sauter cette étape ! Lire la suite…

Increase PHP memory limit

16/02/2024 Categories: Logiciel Tags: , , Comments off

note: increasing PHP memory limit is different from increasing PHP upload size. You can learn to increase upload size here.

A PHP memory limit of 32MB is the minimum requirement for Drupal 7 (16MB for Drupal 6), and 64MB is recommended. Some sites may need more than 64MB if they are using certain contributed modules such as Views and Panels. Memory limits of 128MB and higher are not unusual. There are several techniques to increase the PHP memory limit and you only need to use one of them. The right one for you depends on your system configuration.
Lire la suite…

Categories: Logiciel Tags: , ,

How to mount ext2/ext3 Linux Volumes in Mac OS X (Snow Leopard) with Read/Write access

16/02/2024 Categories: Système Tags: Comments off

Source: The WireFrame

I was actually surprised to find out that there is no native support for popular ext2/ext3 Linux Volumes in mac OS X. So if you are like me and have ext2/ext3 drives lying around and want to access them using OS X then here is a compact guide to sort things out in Snow Leopard.

1. Install MacFUSE

If you haven’t already installed it download and install MacFUSE from http://code.google.com/p/macfuse/downloads/list.

2. Install FUSE – Ext2

Once you have MacFUSE download and install fuse-ext2 from http://sourceforge.net/projects/fuse-ext2/. Even though it says fuse-ext2, this one package gives both ext2 and ext3 read-write support.

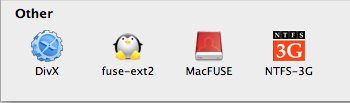
After installation you should see both MacFUSE and fuse-ext2 icons in System Preferences.


fuse_ext2

That’s it. You now have support for ext2 and ext3 file systems. When you plug in an external ext2/ext3 partition it should automatically show up in Finder, mounted and ready to use. You can also use the following commands if you prefer the shell.

$ fuse-ext2 <device|image> <mountpoint> [-o option[,...]]
$ mount -t fuse-ext2 <device|image> <mountpoint>


Note: If auto-mount is not giving you read/write access to ext2/ext3 partitions then you will have to edit the auto-mount script for fuse-ext2 which can be found at /System/Library/Filesystems/fuse-ext2.fs/fuse-ext2.util.

$ sudo nano -c /System/Library/Filesystems/fuse-ext2.fs/fuse-ext2.util

Around line 207 (in function Mount ()) you will find the line OPTIONS="auto_xattr,defer_permissions". Change that line to read asOPTIONS="auto_xattr,defer_permissions,rw+".

...
function Mount ()
{
LogDebug "[Mount] Entering function Mount..."
# Setting both defer_auth and defer_permissions. The option was renamed
# starting with MacFUSE 1.0.0, and there seems to be no backward
# compatibility on the options.
# OPTIONS="auto_xattr,defer_permissions"
OPTIONS="auto_xattr,defer_permissions,rw+"
# The local option is only enabled on Leopard. It causes strange

…


Categories: Système Tags:

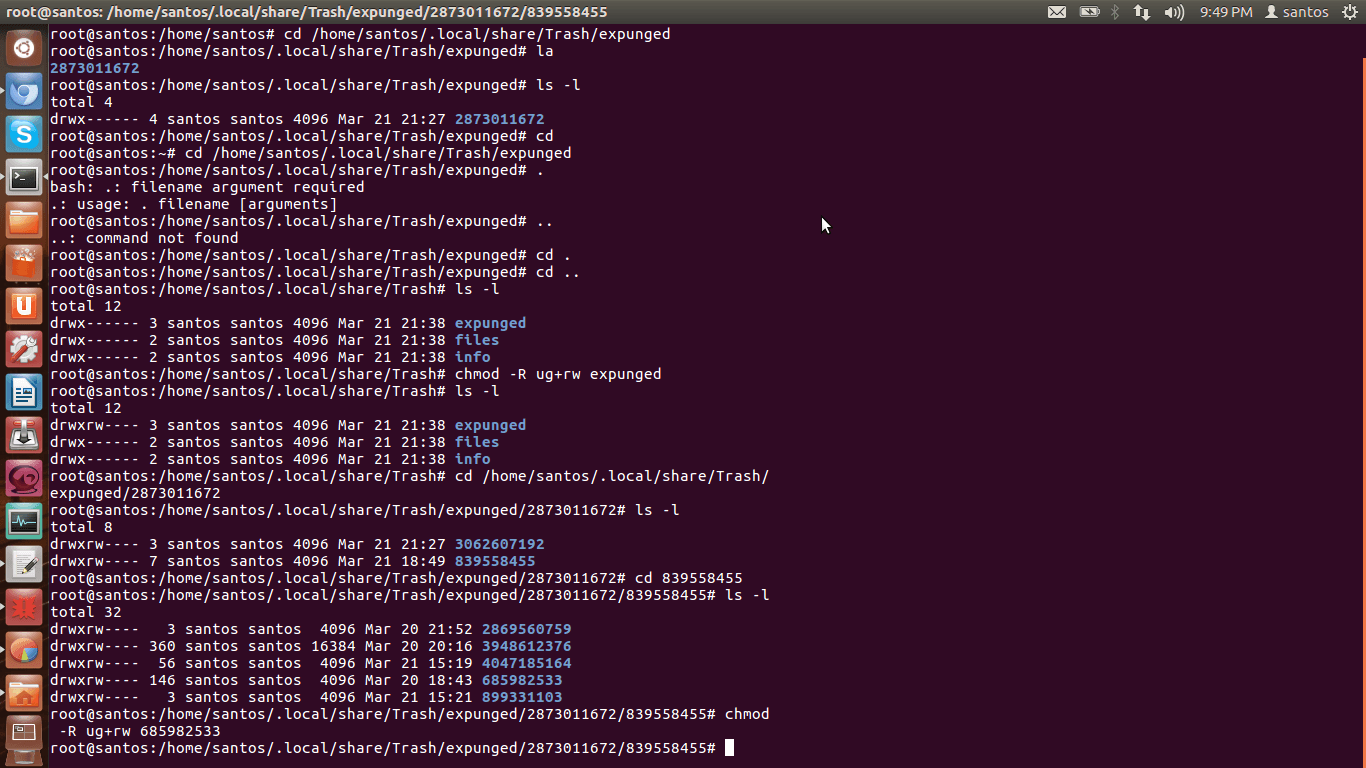
How to chmod 755 all directories but no file (recursively)?

15/02/2024 Categories: Système Tags: , Comments off

zqtPL

To recursively give directories read&execute privileges:

find /path/to/base/dir -type d -exec chmod 755 {} +

To recursively give files read privileges:

find /path/to/base/dir -type f -exec chmod 644 {} +

Or, if there are many objects to process:

chmod 755 $(find /path/to/base/dir -type d)
chmod 644 $(find /path/to/base/dir -type f)

Or, to reduce chmod spawning:

find /path/to/base/dir -type d -print0 | xargs -0 chmod 755 
find /path/to/base/dir -type f -print0 | xargs -0 chmod 644


Categories: Système Tags: ,